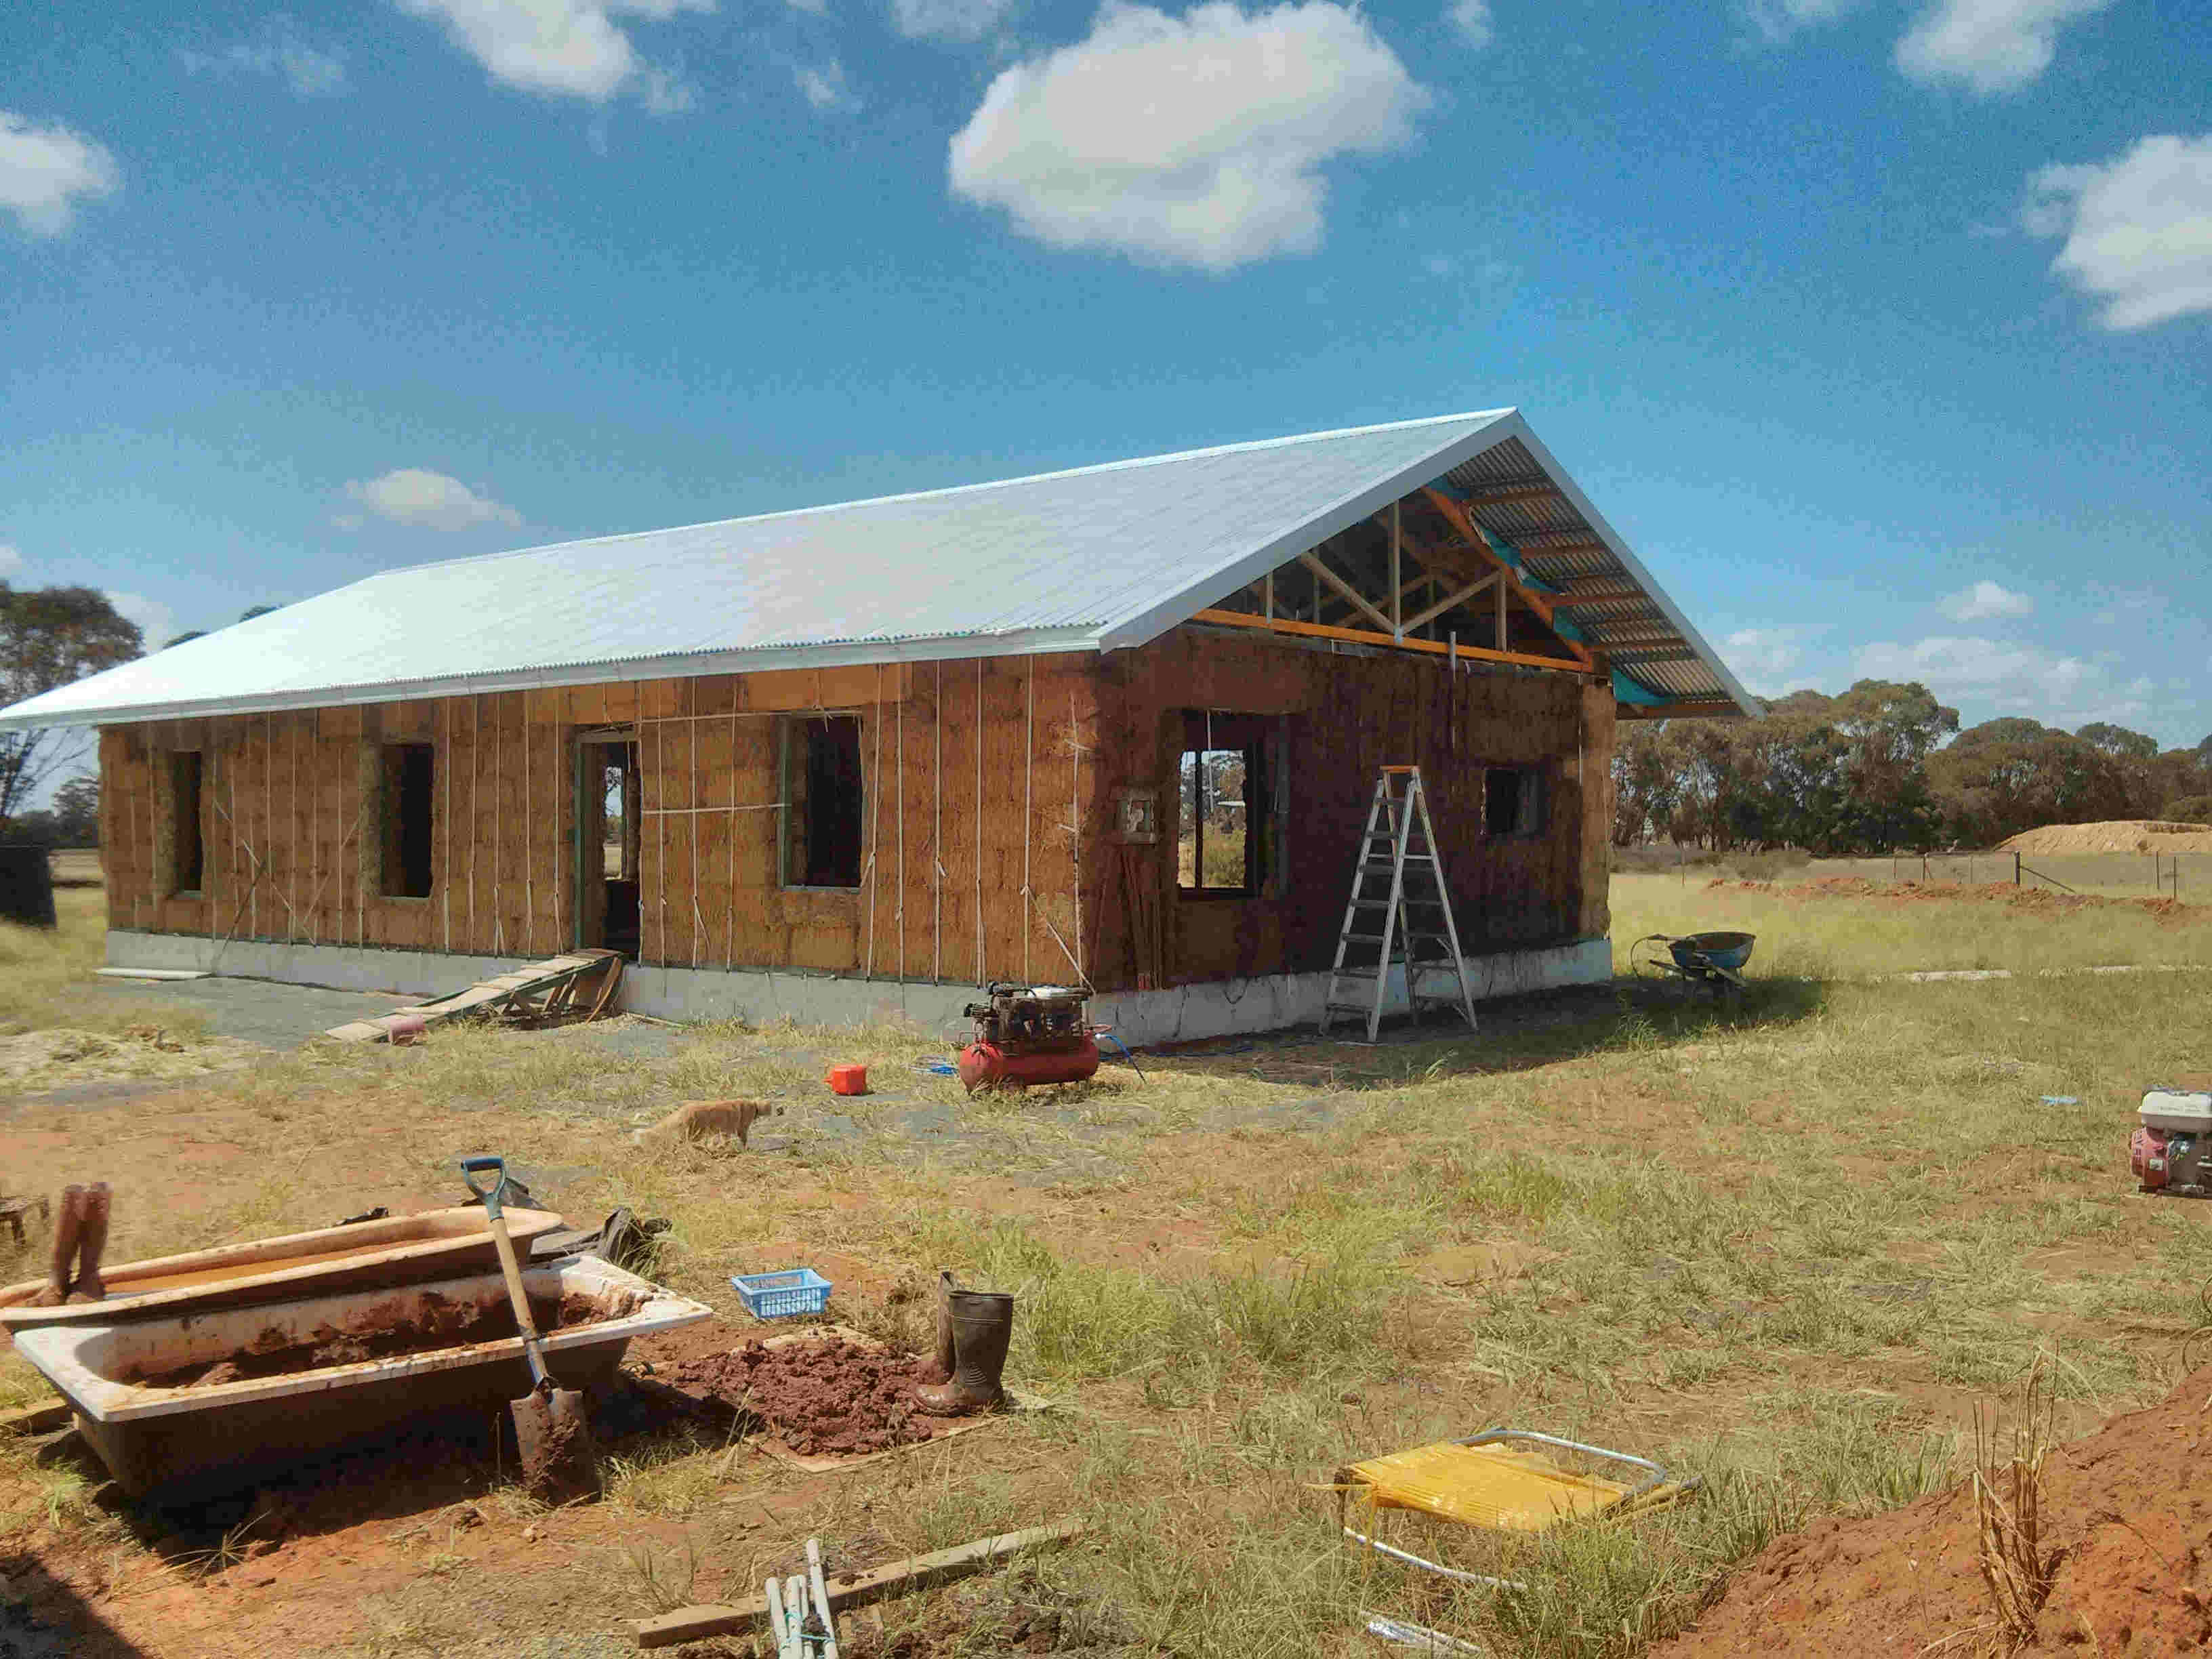
Building with Straw
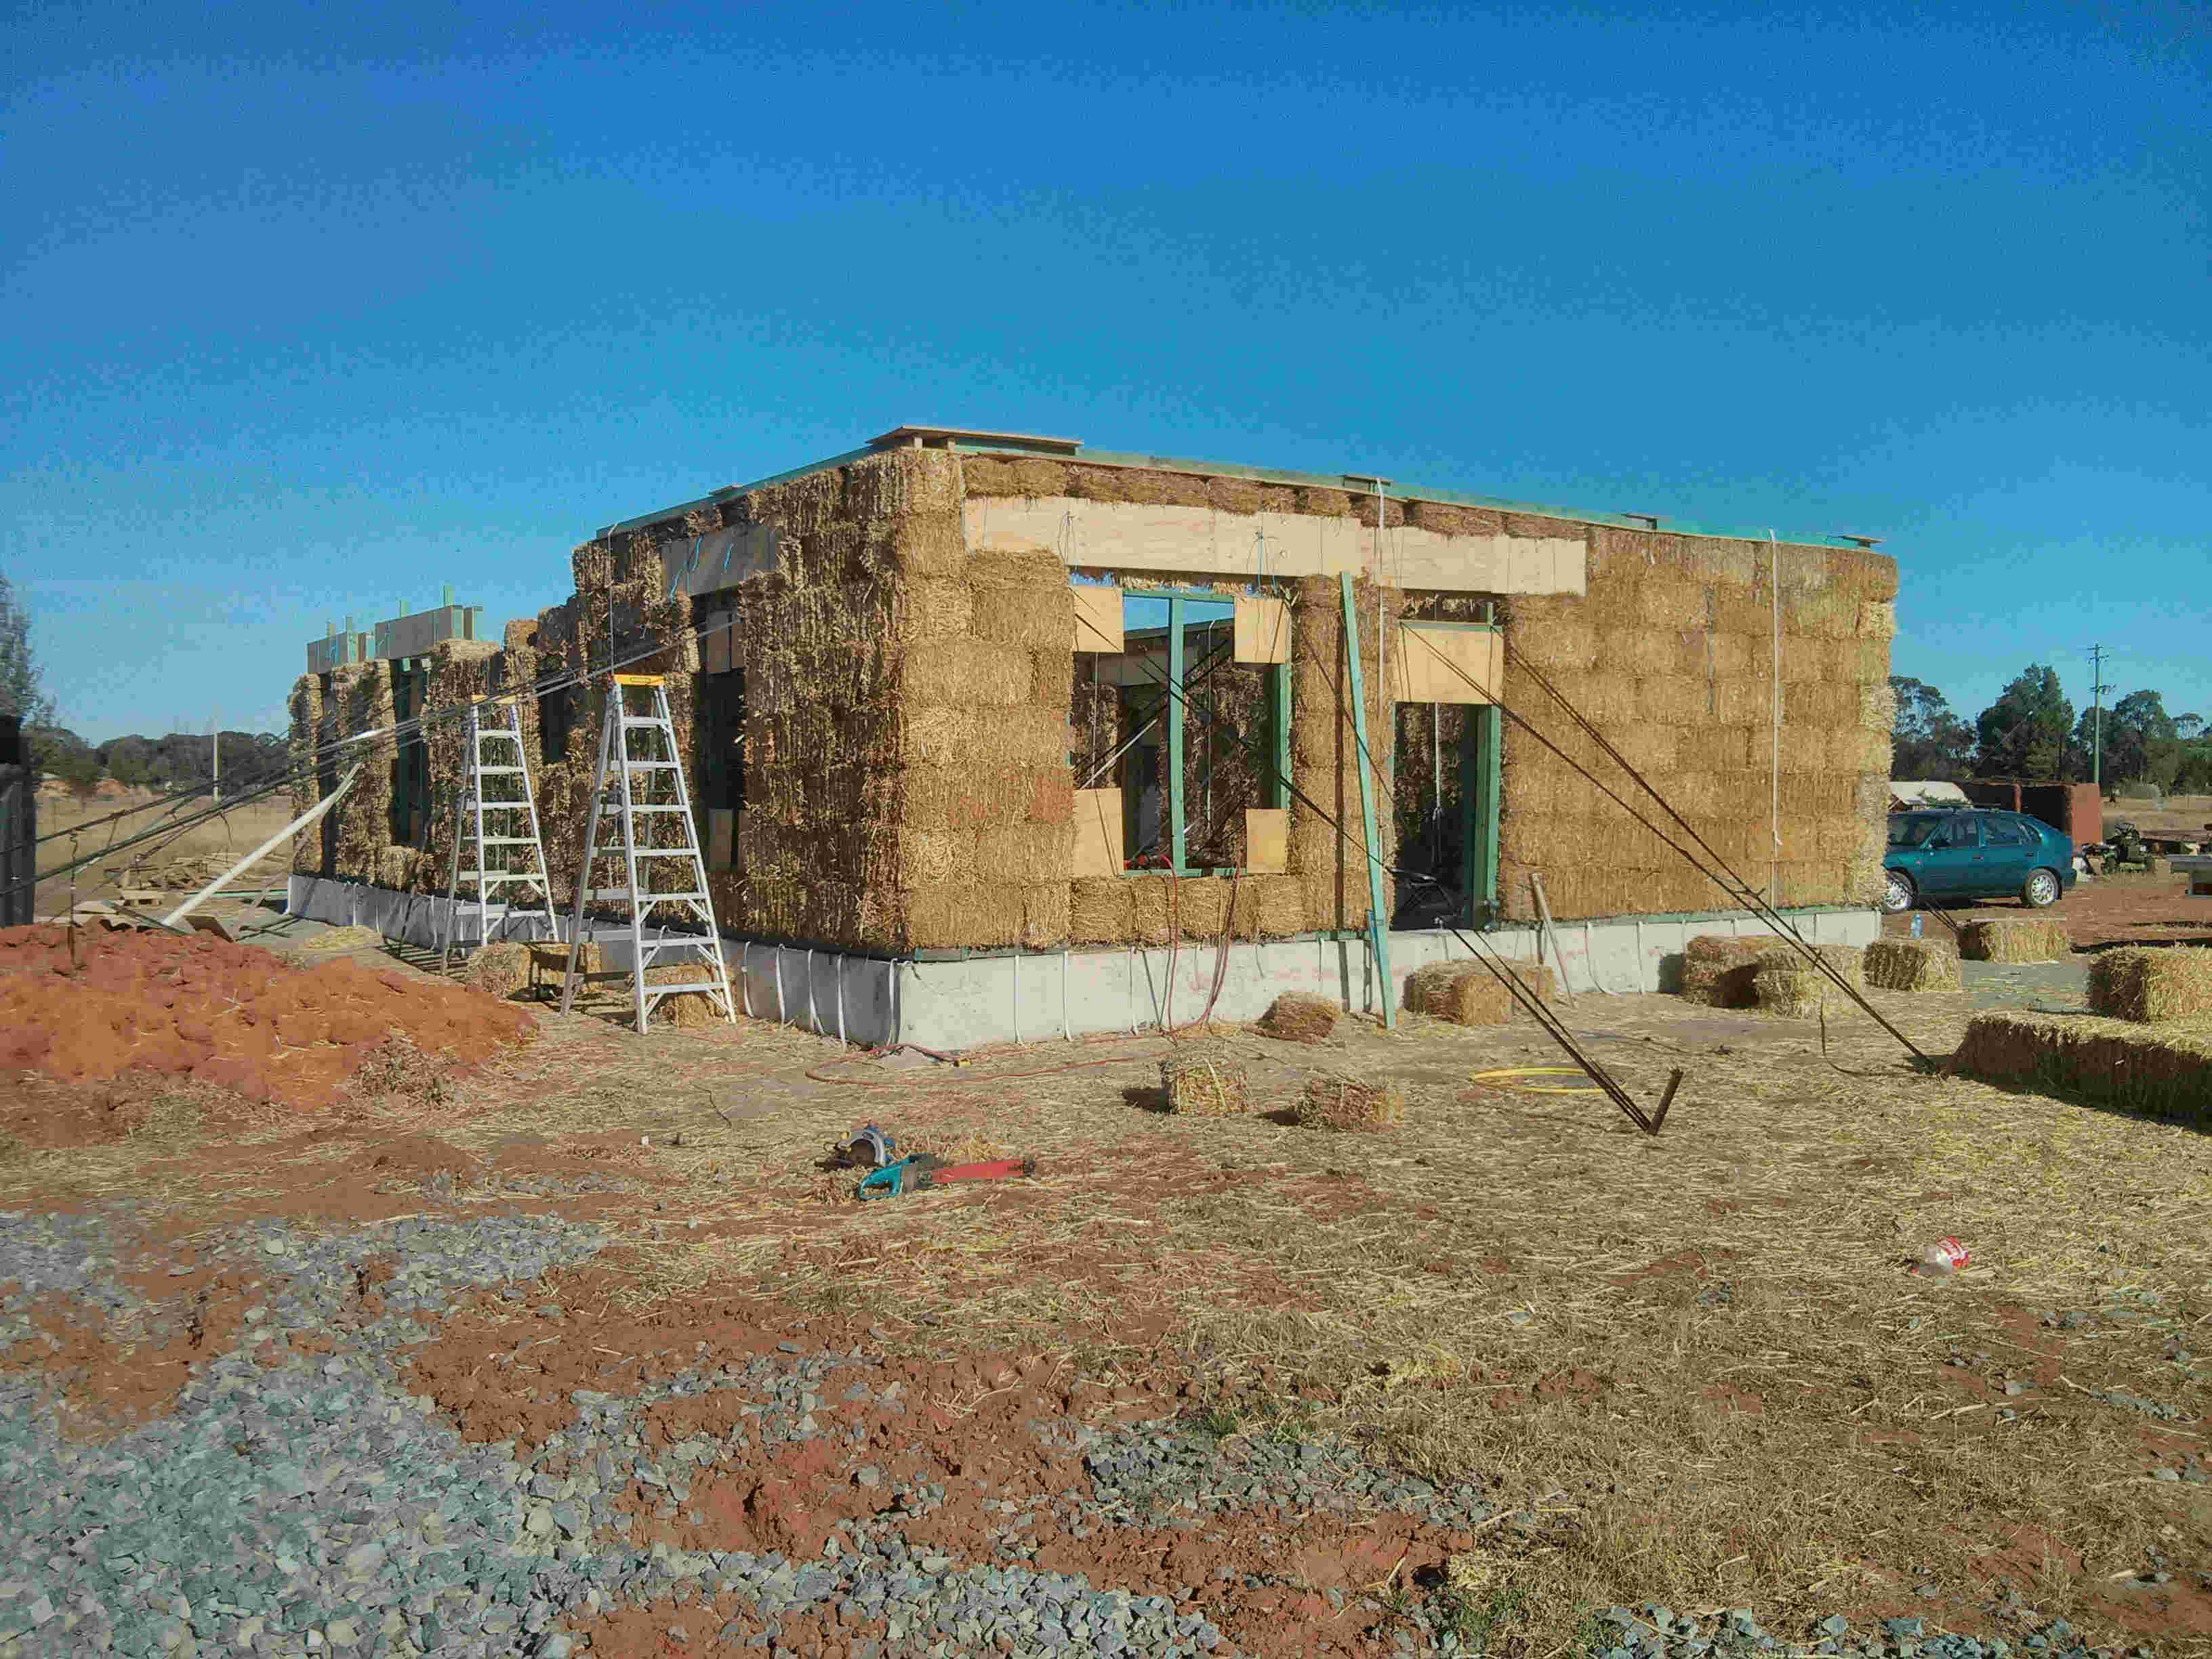
Building with straw is a rather unique experience. You need to remember that it is 'organic' and without lots of time and money you will not end up with a perfectly flat wall. We embraced the idea of a curvy 'organic' wall early on.
Techniques
There are a number of techniques that are helpful to use with straw bale building. Before the build day arrives you should make yourself familiar with how to re-tie bales, how to stuff bales, how to cut bales, how to 'pound' the bale walls. An excellent resource we found was Andrew Morrisons website. His DVD series on teach yourself strawbale was very handy. Strawbale.com We found that you really need to take your time with the notching of the bales to make sure the bale does not 'pop out' later on. We had this in one corner, resulting in a wonky corner!
Safety Considerations
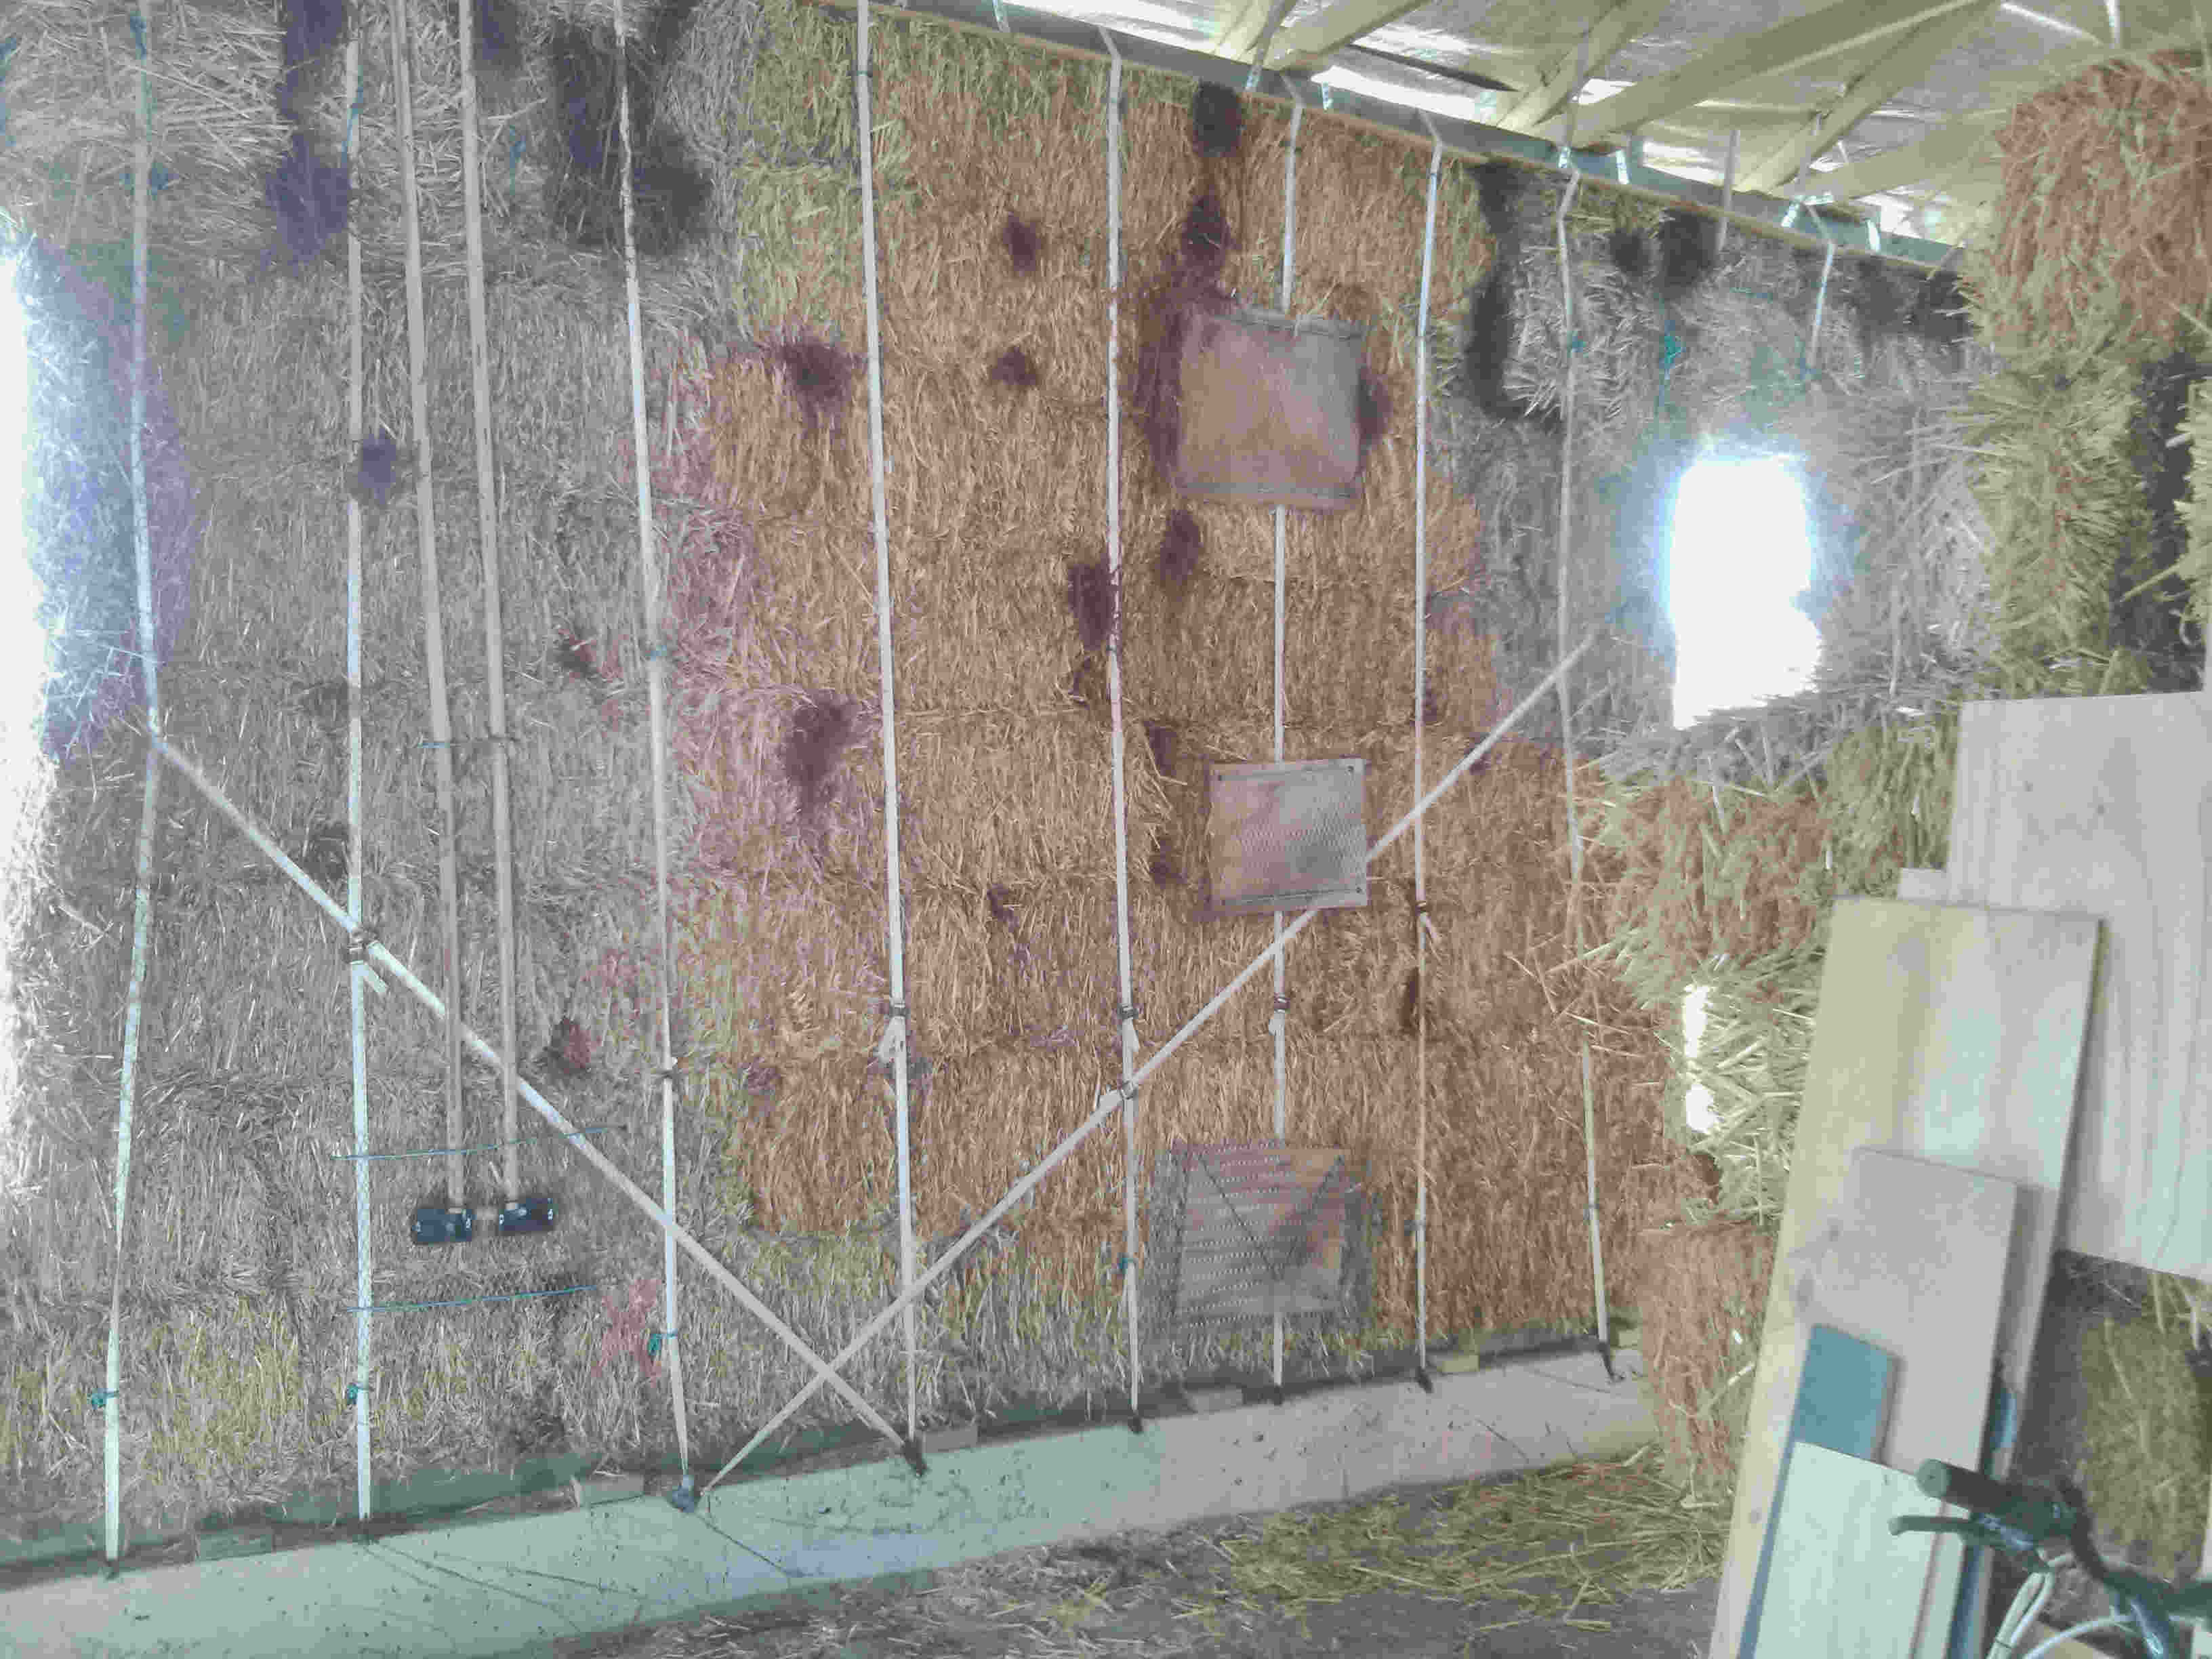
For the build process, you would normally pick a dry time so that the bales don't get wet. This means that the risk of fire spreading is also high. Make sure that you have plenty of fire-fighting water on hand and be very careful about minimising sparks and ignition sources. For this reason we used an electric chainsaw for cutting the bales. Another safety consideratoion is the sewing of the walls. We opted not to use a mesh on the outside skin of the wall as we were using an earthern render and did not feel it nescessary. However we still needed to sew some anchor points on for power points, internall walls, cupboards and the like. This means that you must be careful who is on the other side as you stick the big bale needle through the bale wall.
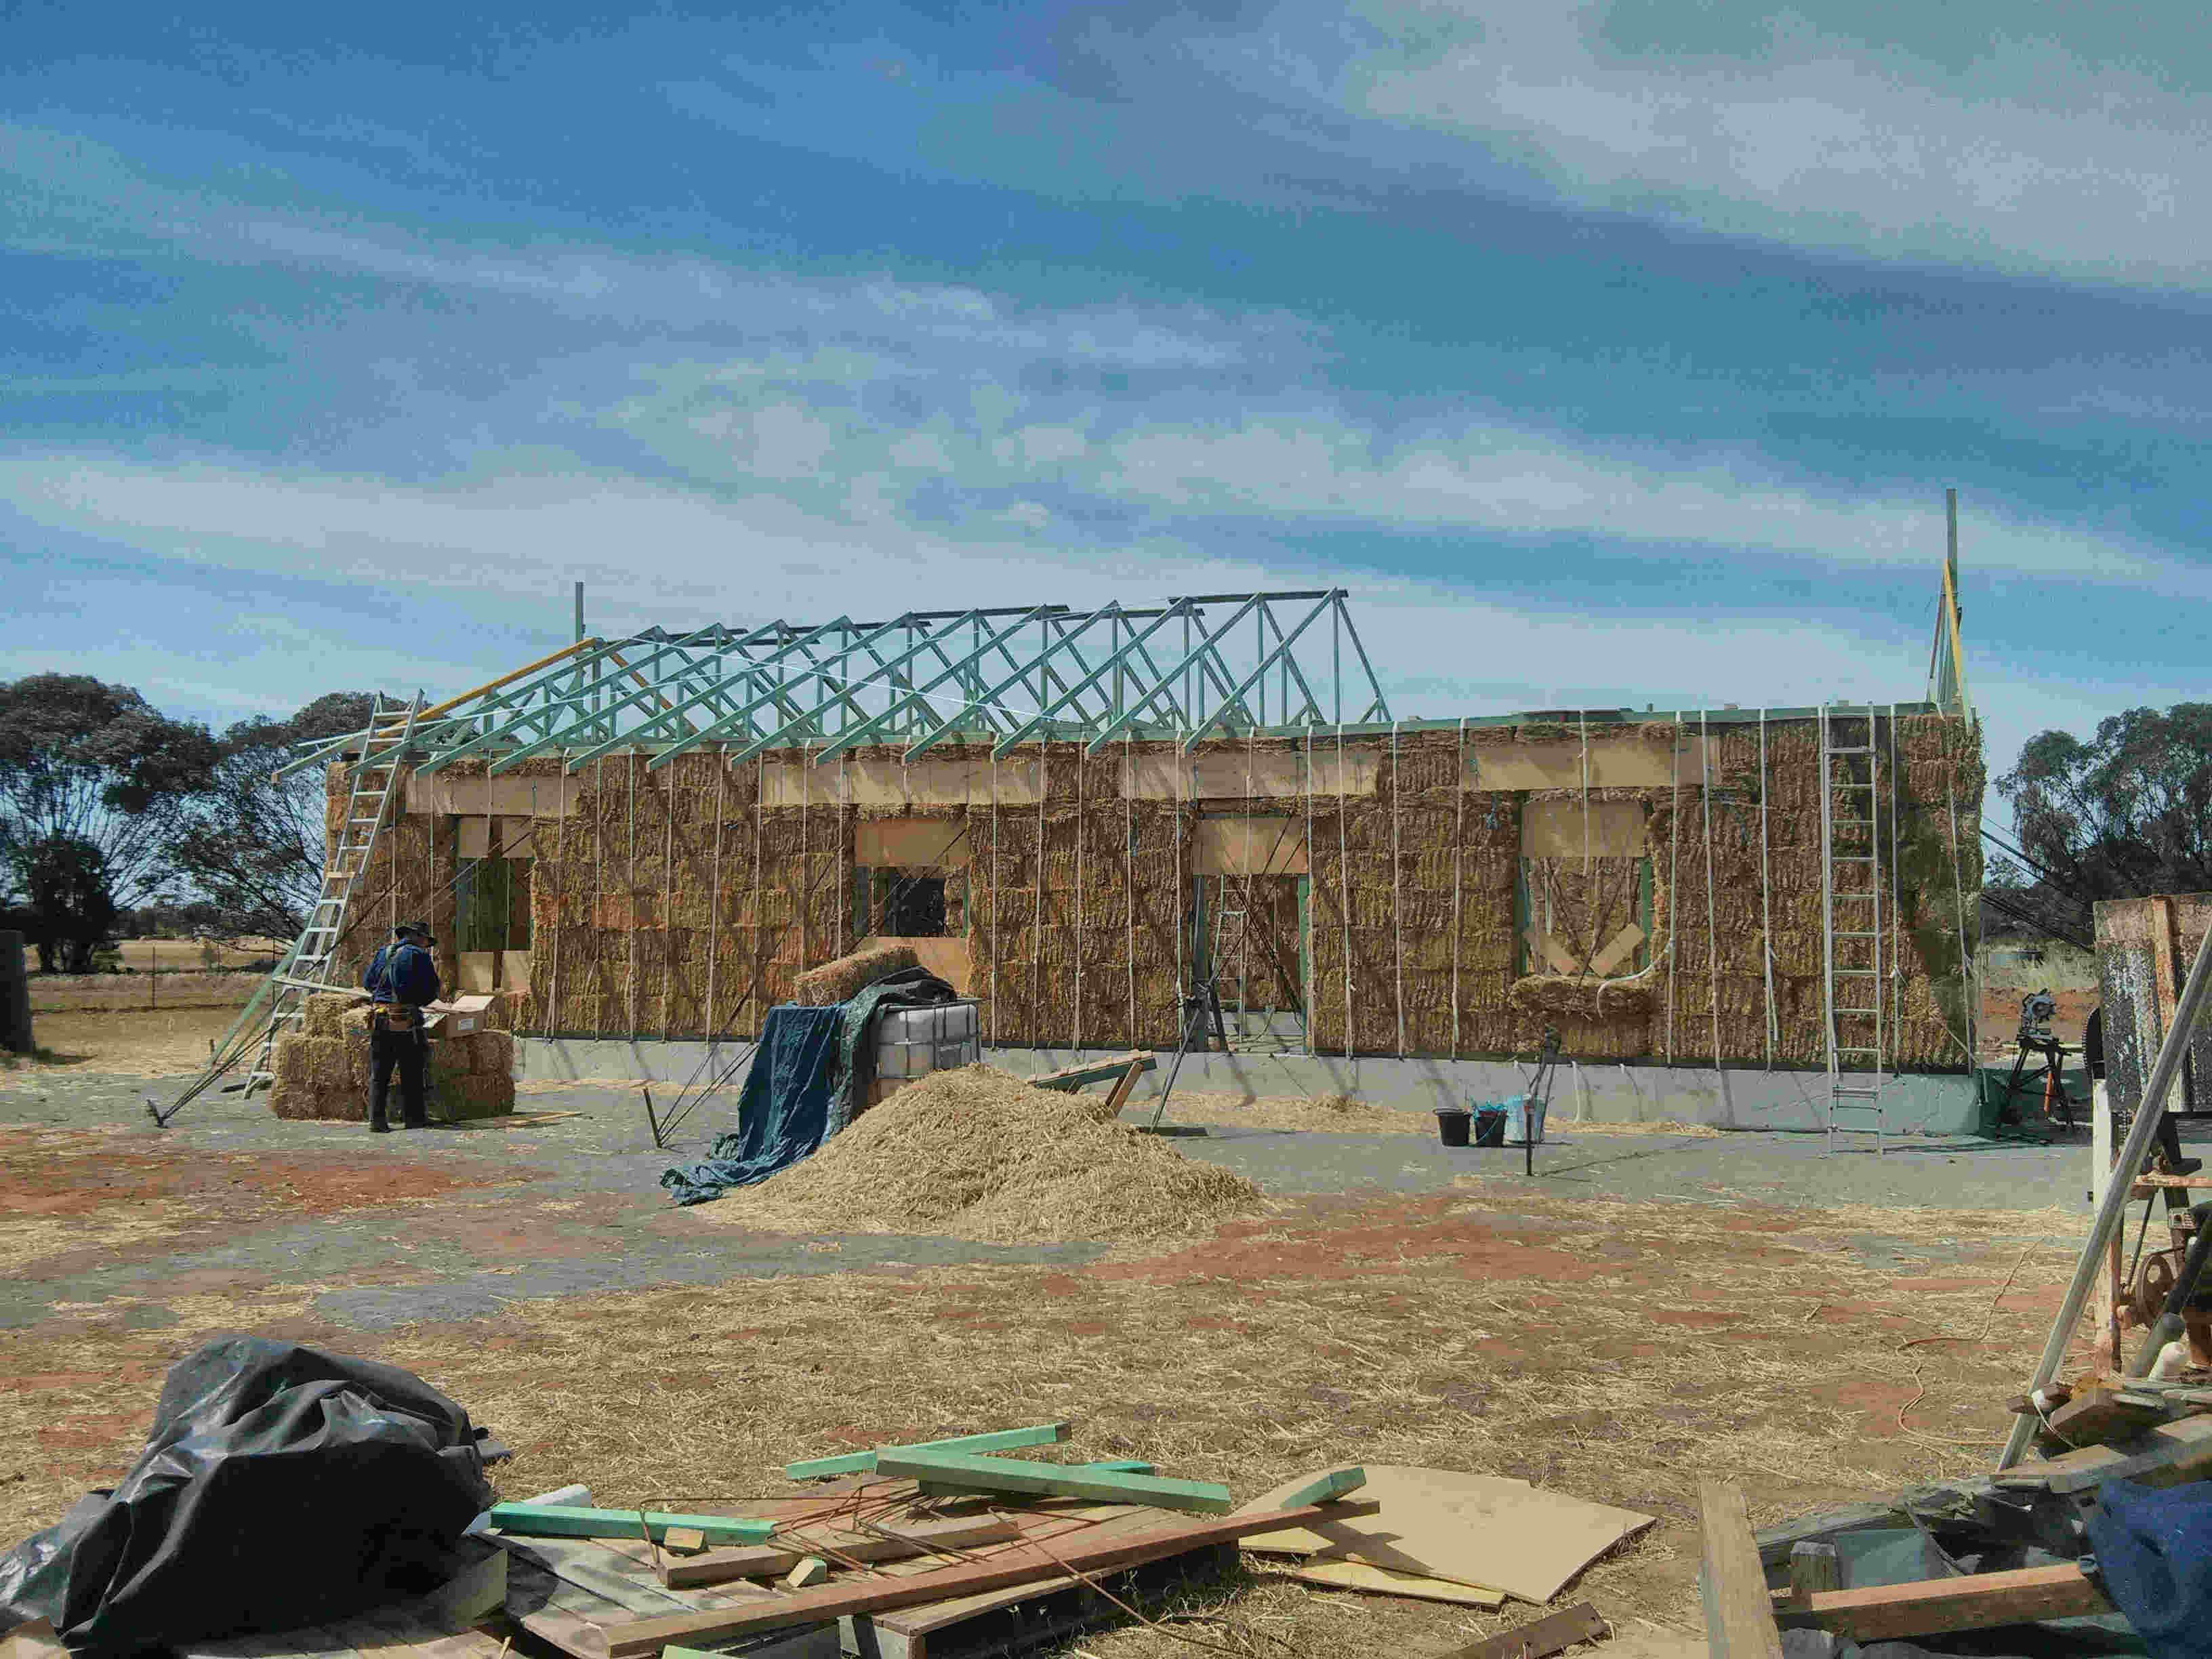
Wall Stiffness
You may wonder as you start the wall and it gets higher and everything seems wobly if you are doing a load-bearing type constrution. Don't worry. It is the render and the whole building as a whole that comes together to make it firm. It is also the reason why strawbale homes perform so well in earthquakes.
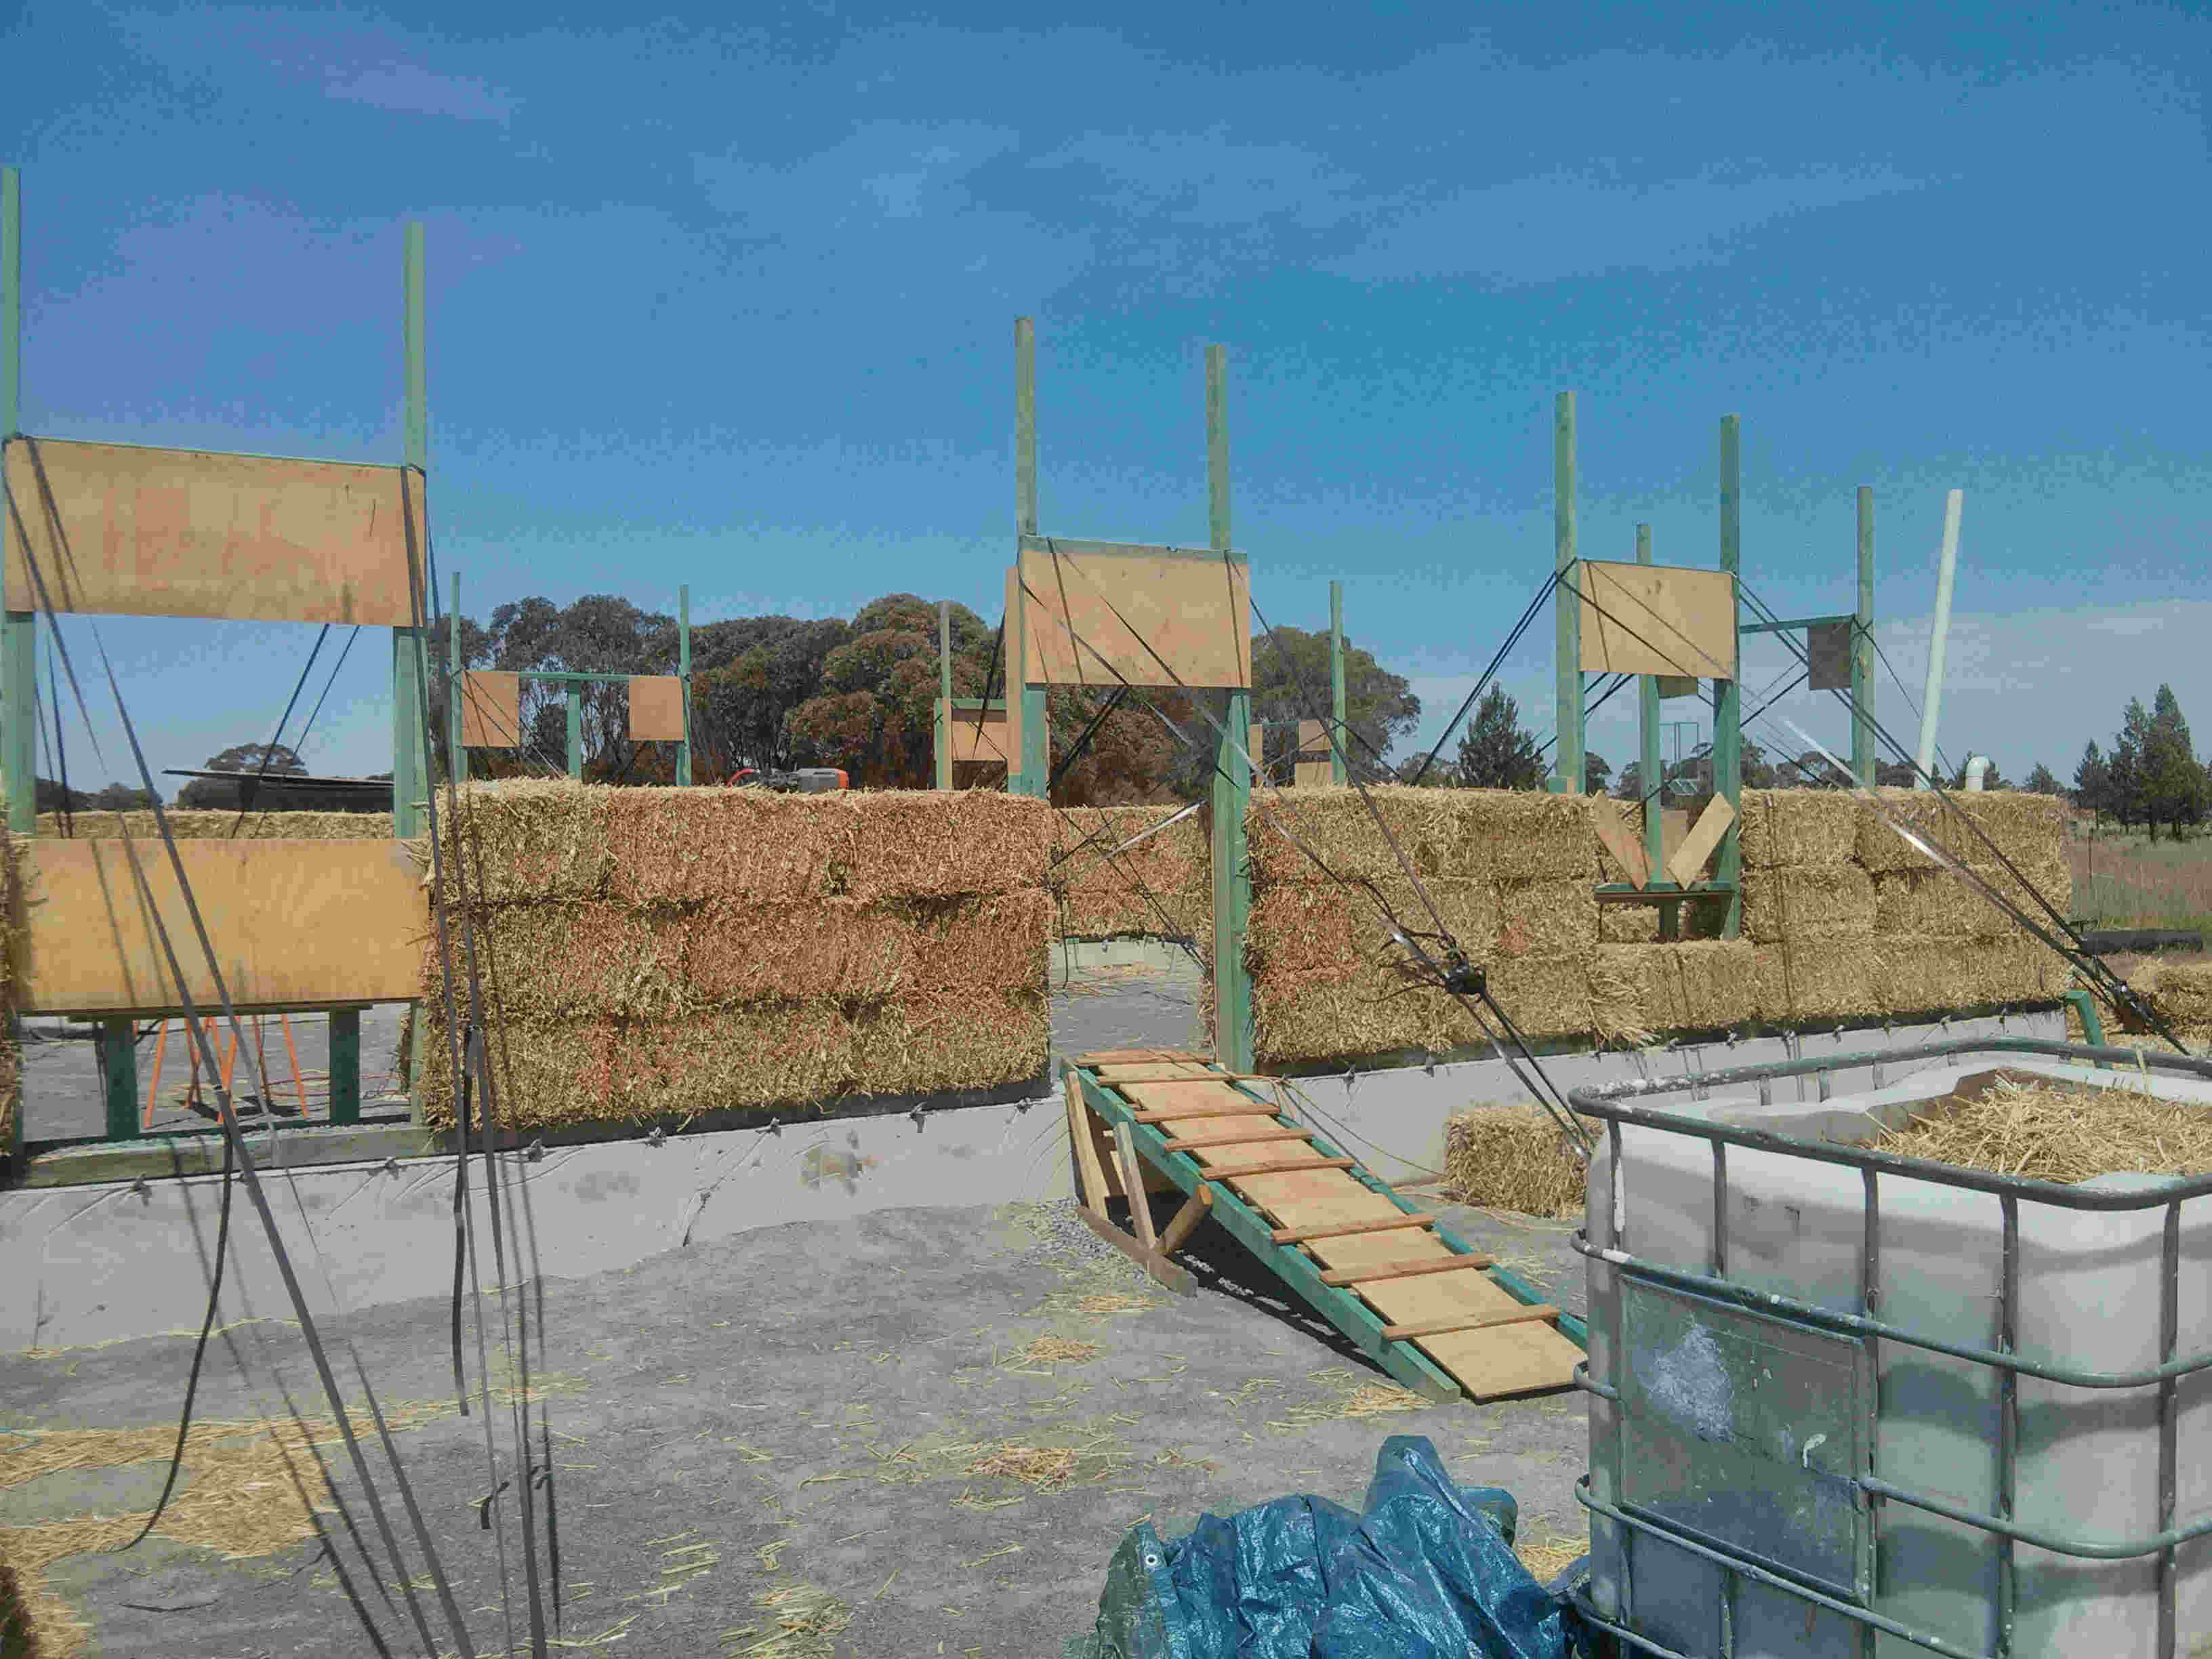
Advice I would give
Some adice I saw and was very glad I followed it was to build a small test case first. In our case we built a small 'power house' of 3m x 3m internally using strawbale and other construction methods we wanted to use for the house. This small project taught us alot. We made mistakes that we were careful not to repeat in the house. Some of these include:
- Make sure you leave enough room around the window to put a thick layer of render on.
- don't use paint tint as lime wash tint.
- Dont embed rocks into the finish of the earthern floor-It takes too long to burnish
- Apply the earthern render nice and thick then use multiple layers to patch the shrinkage cracks
-
Straw everywhere -
More Straw -
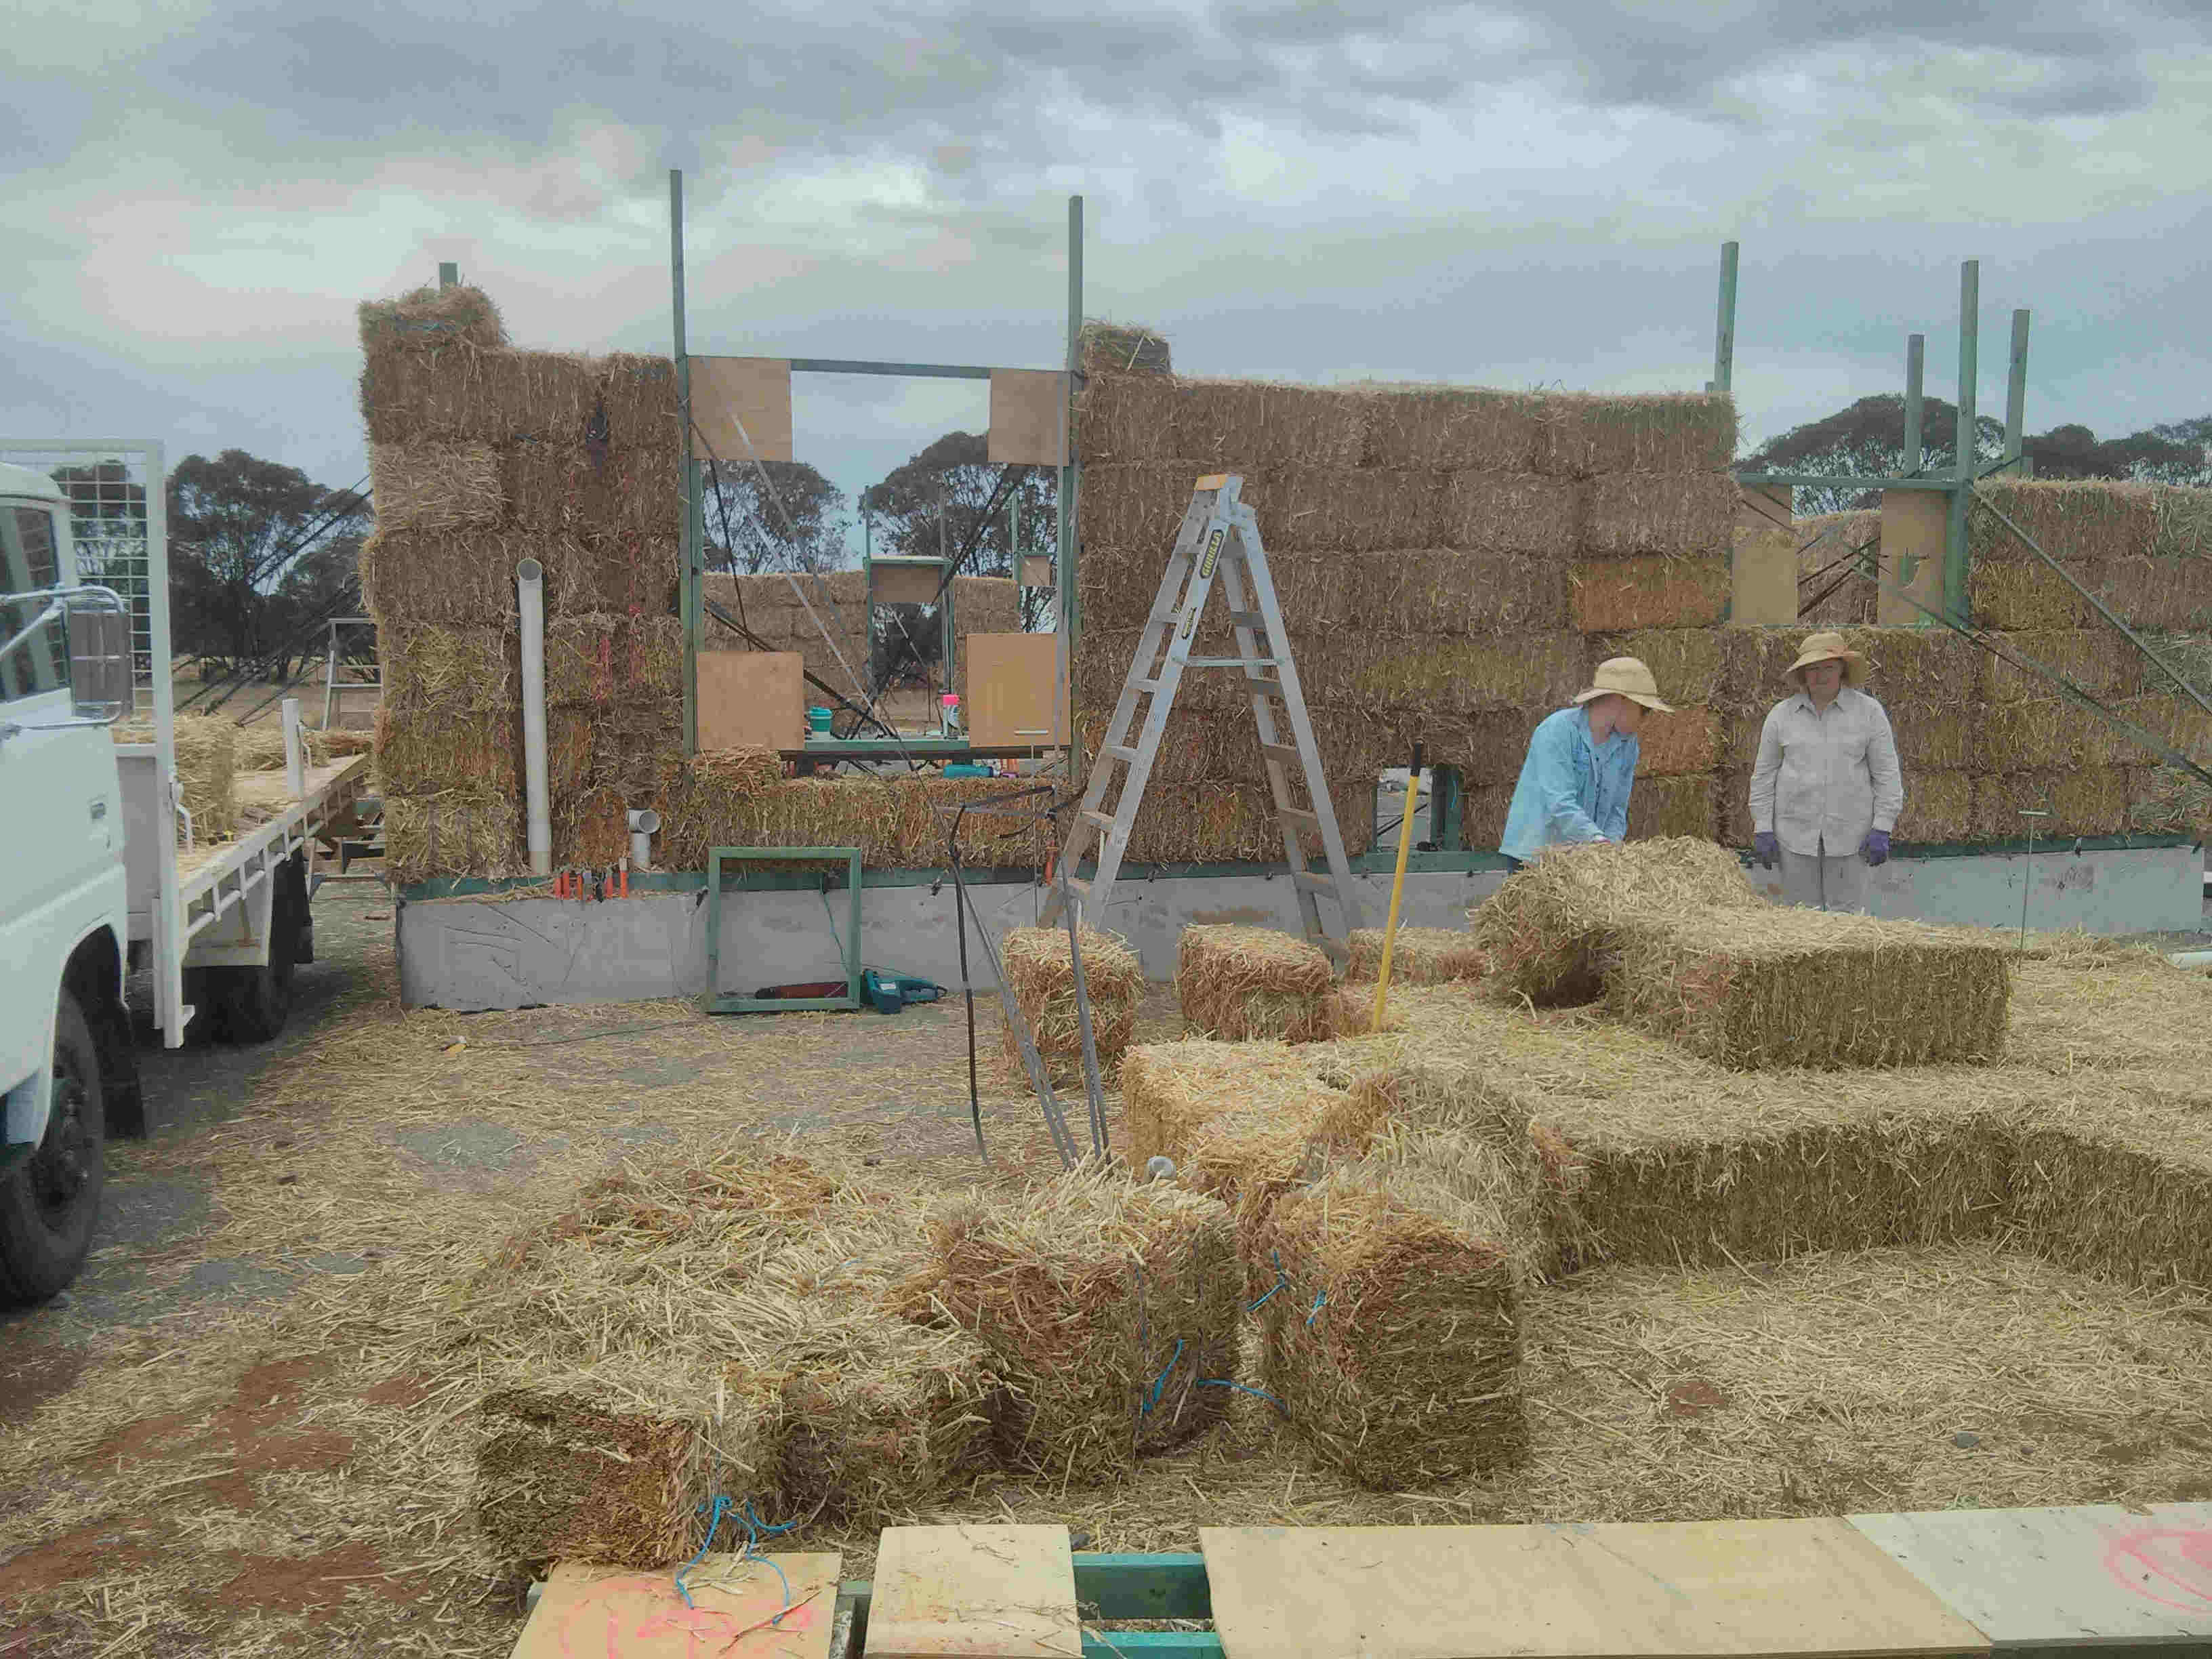
Some willing helpers re-tie bales -
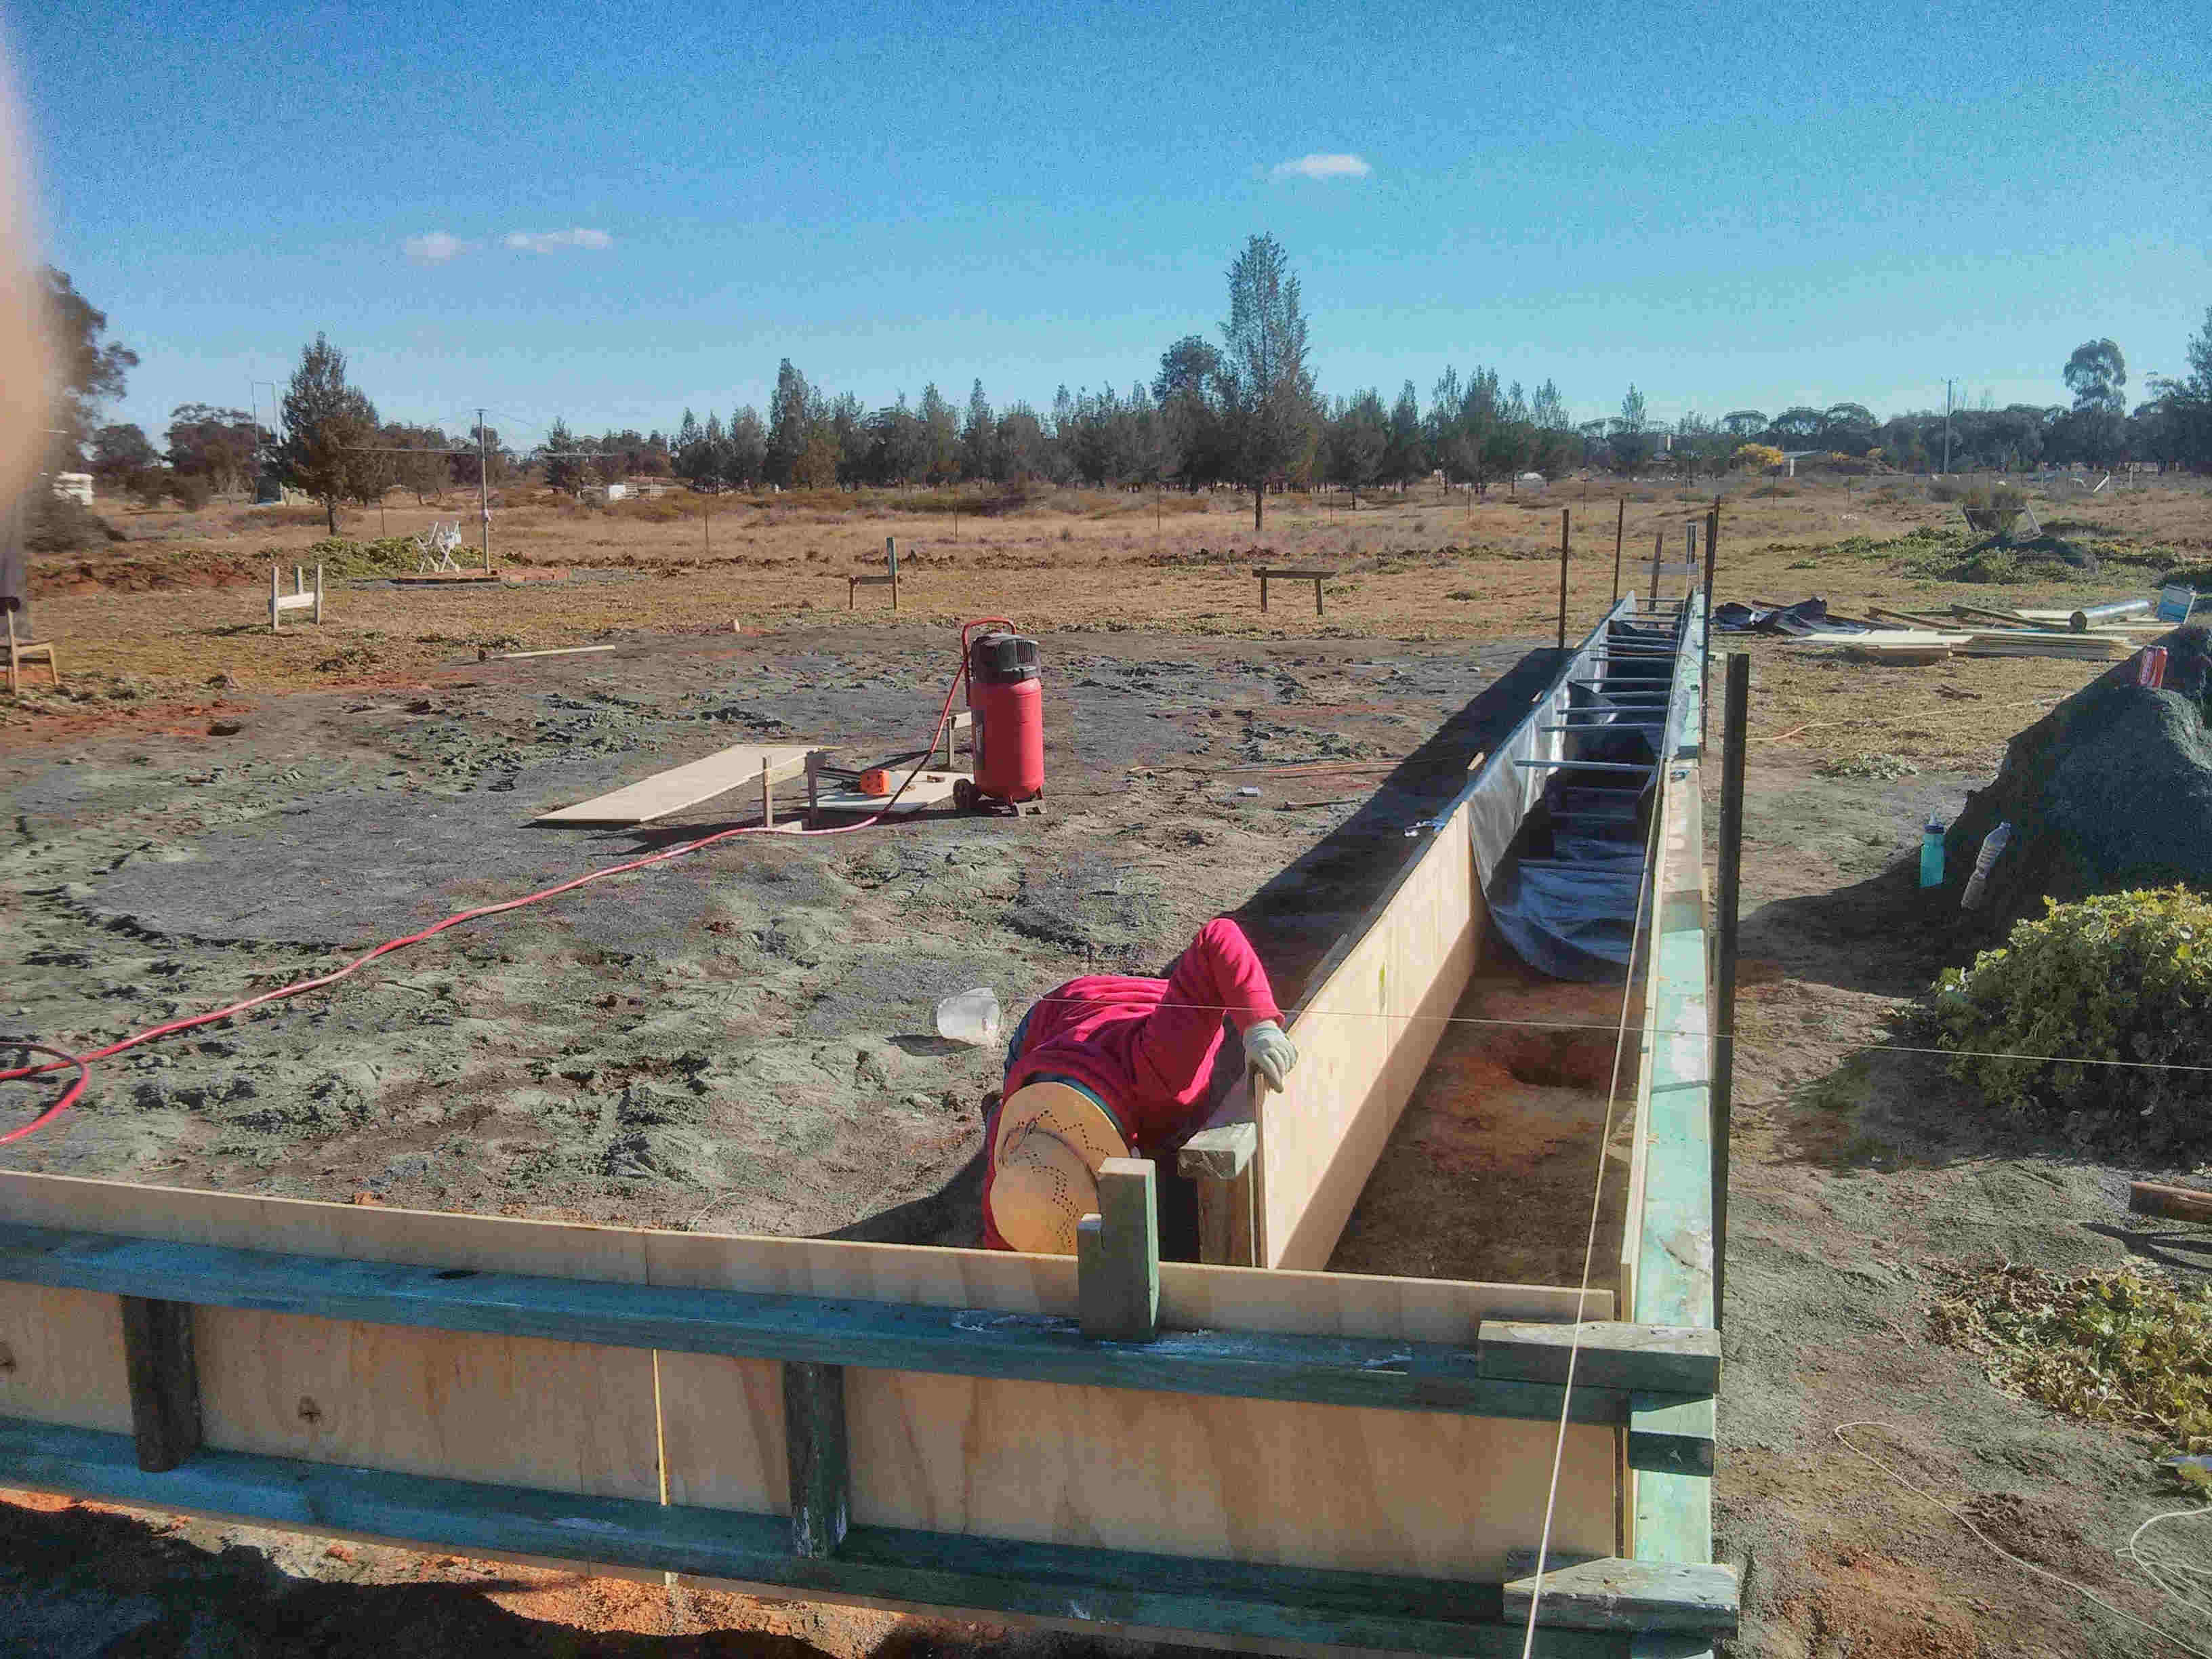
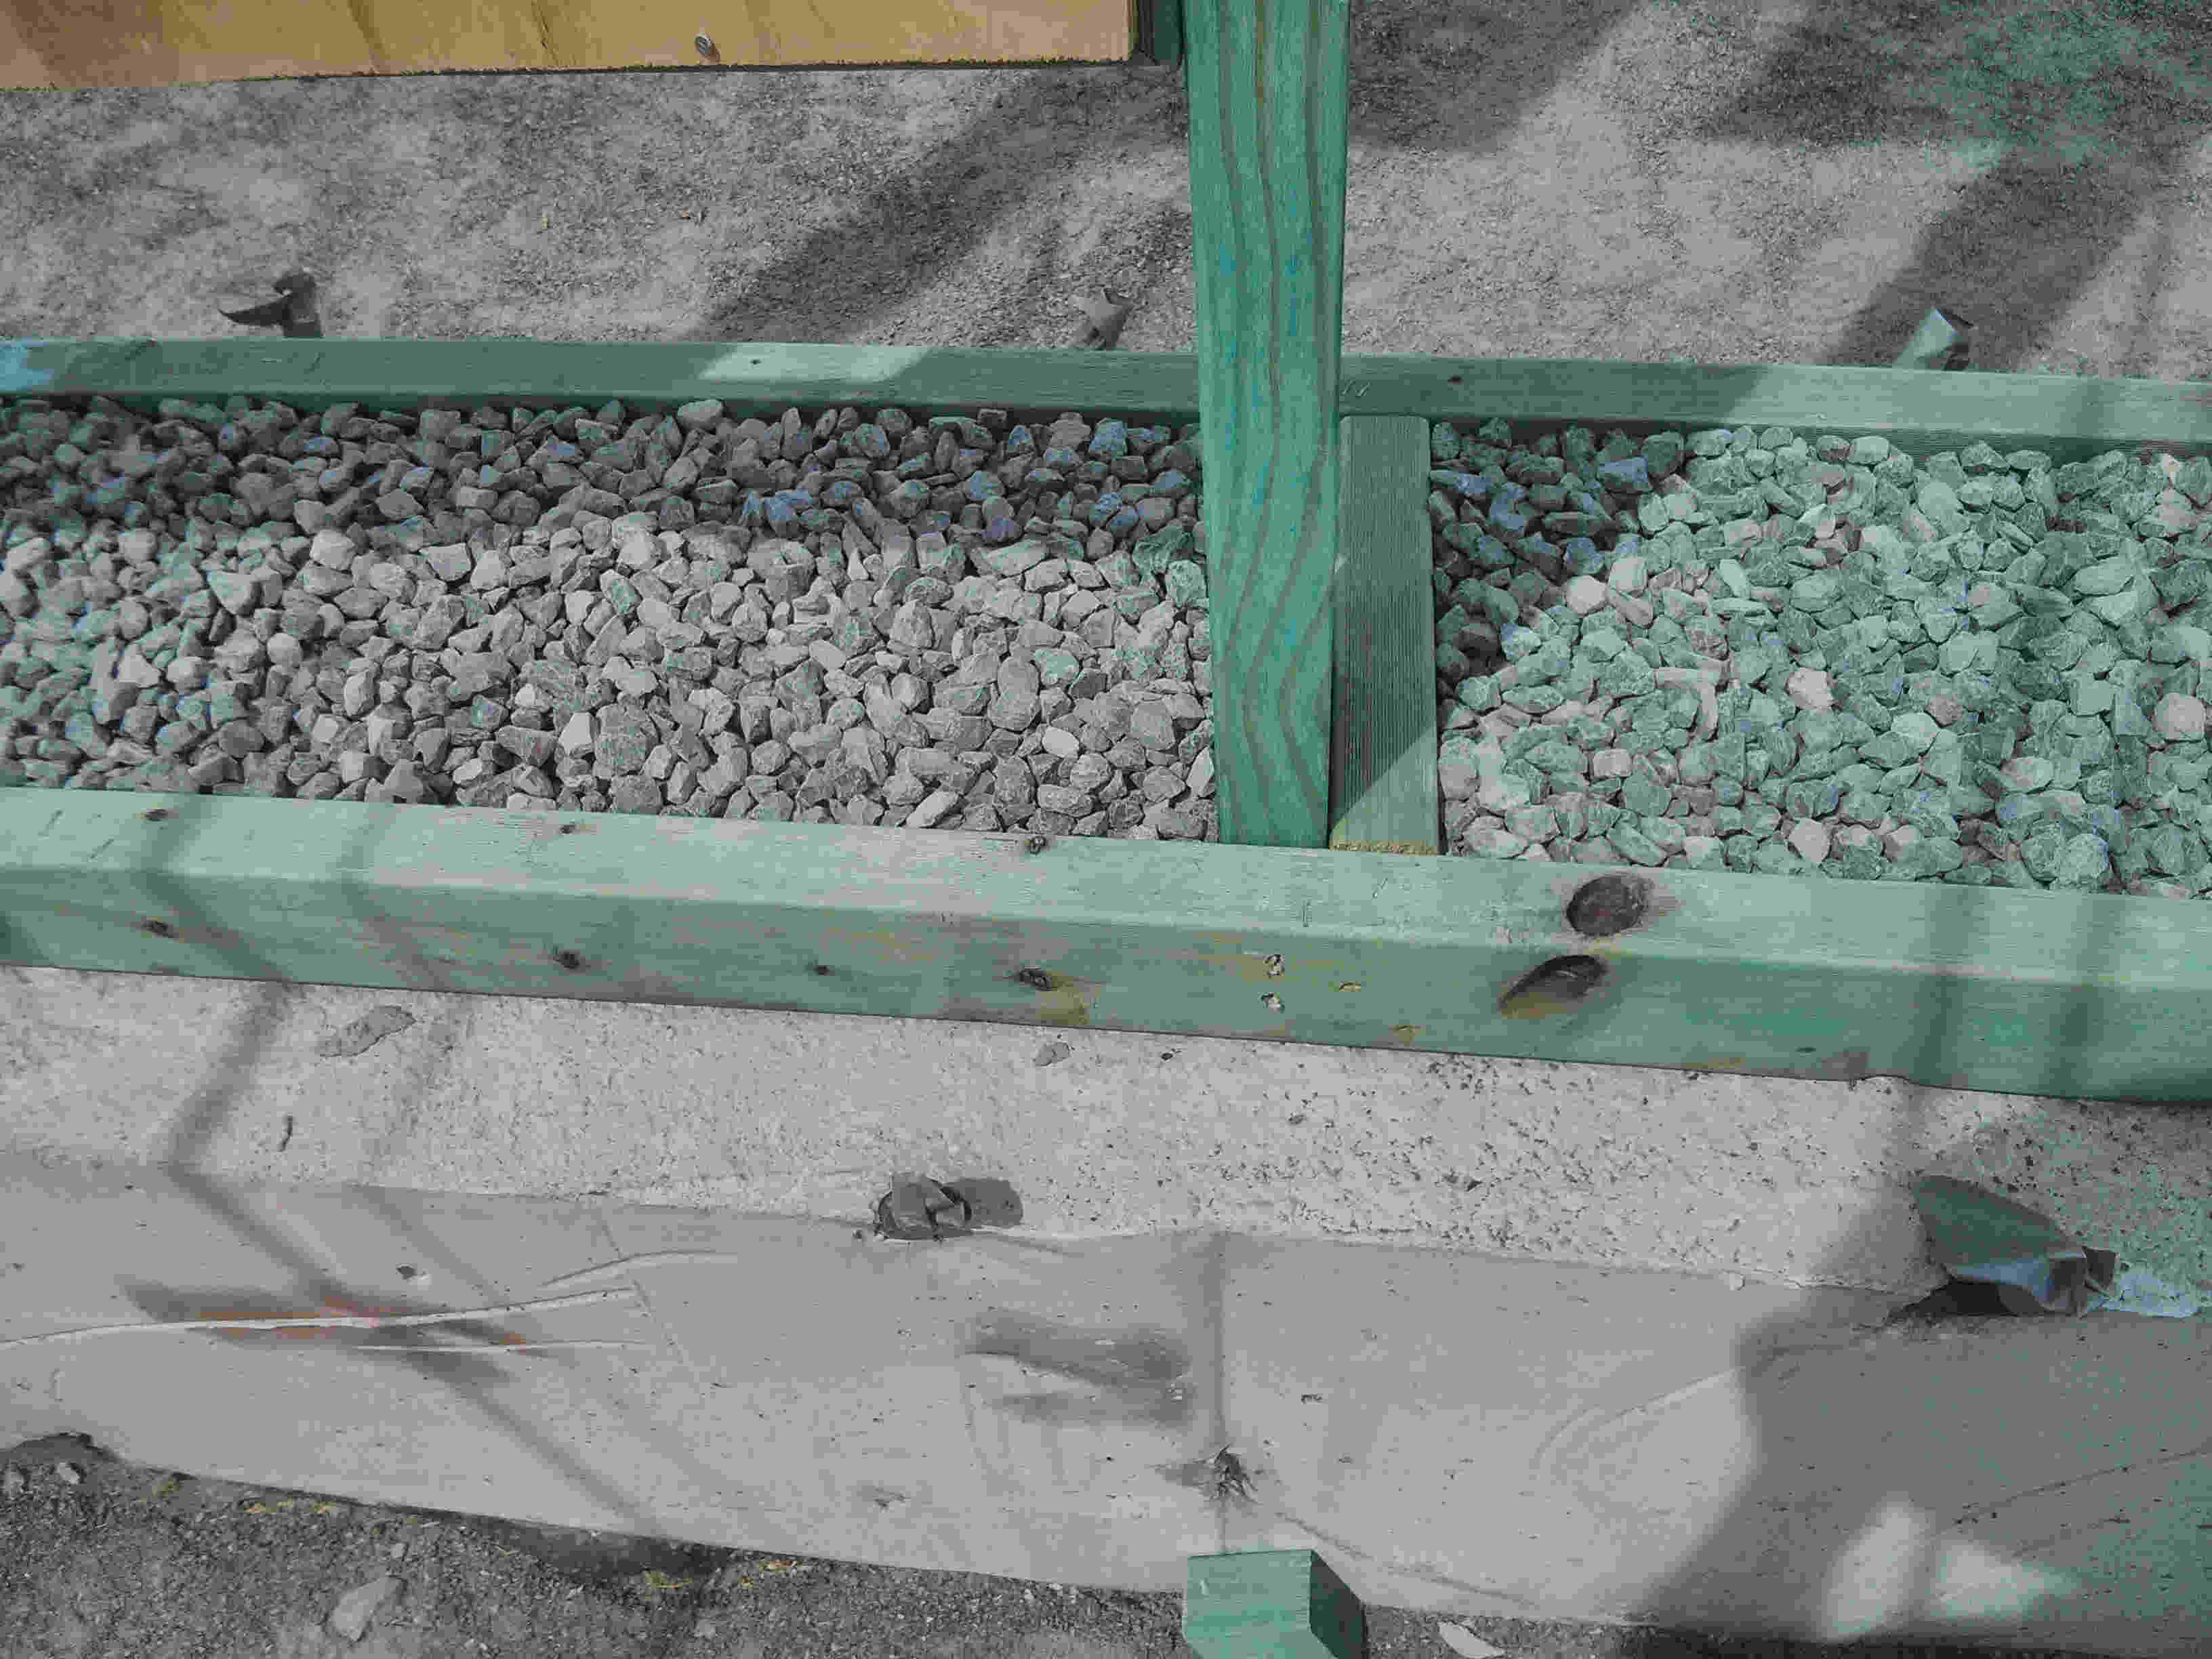
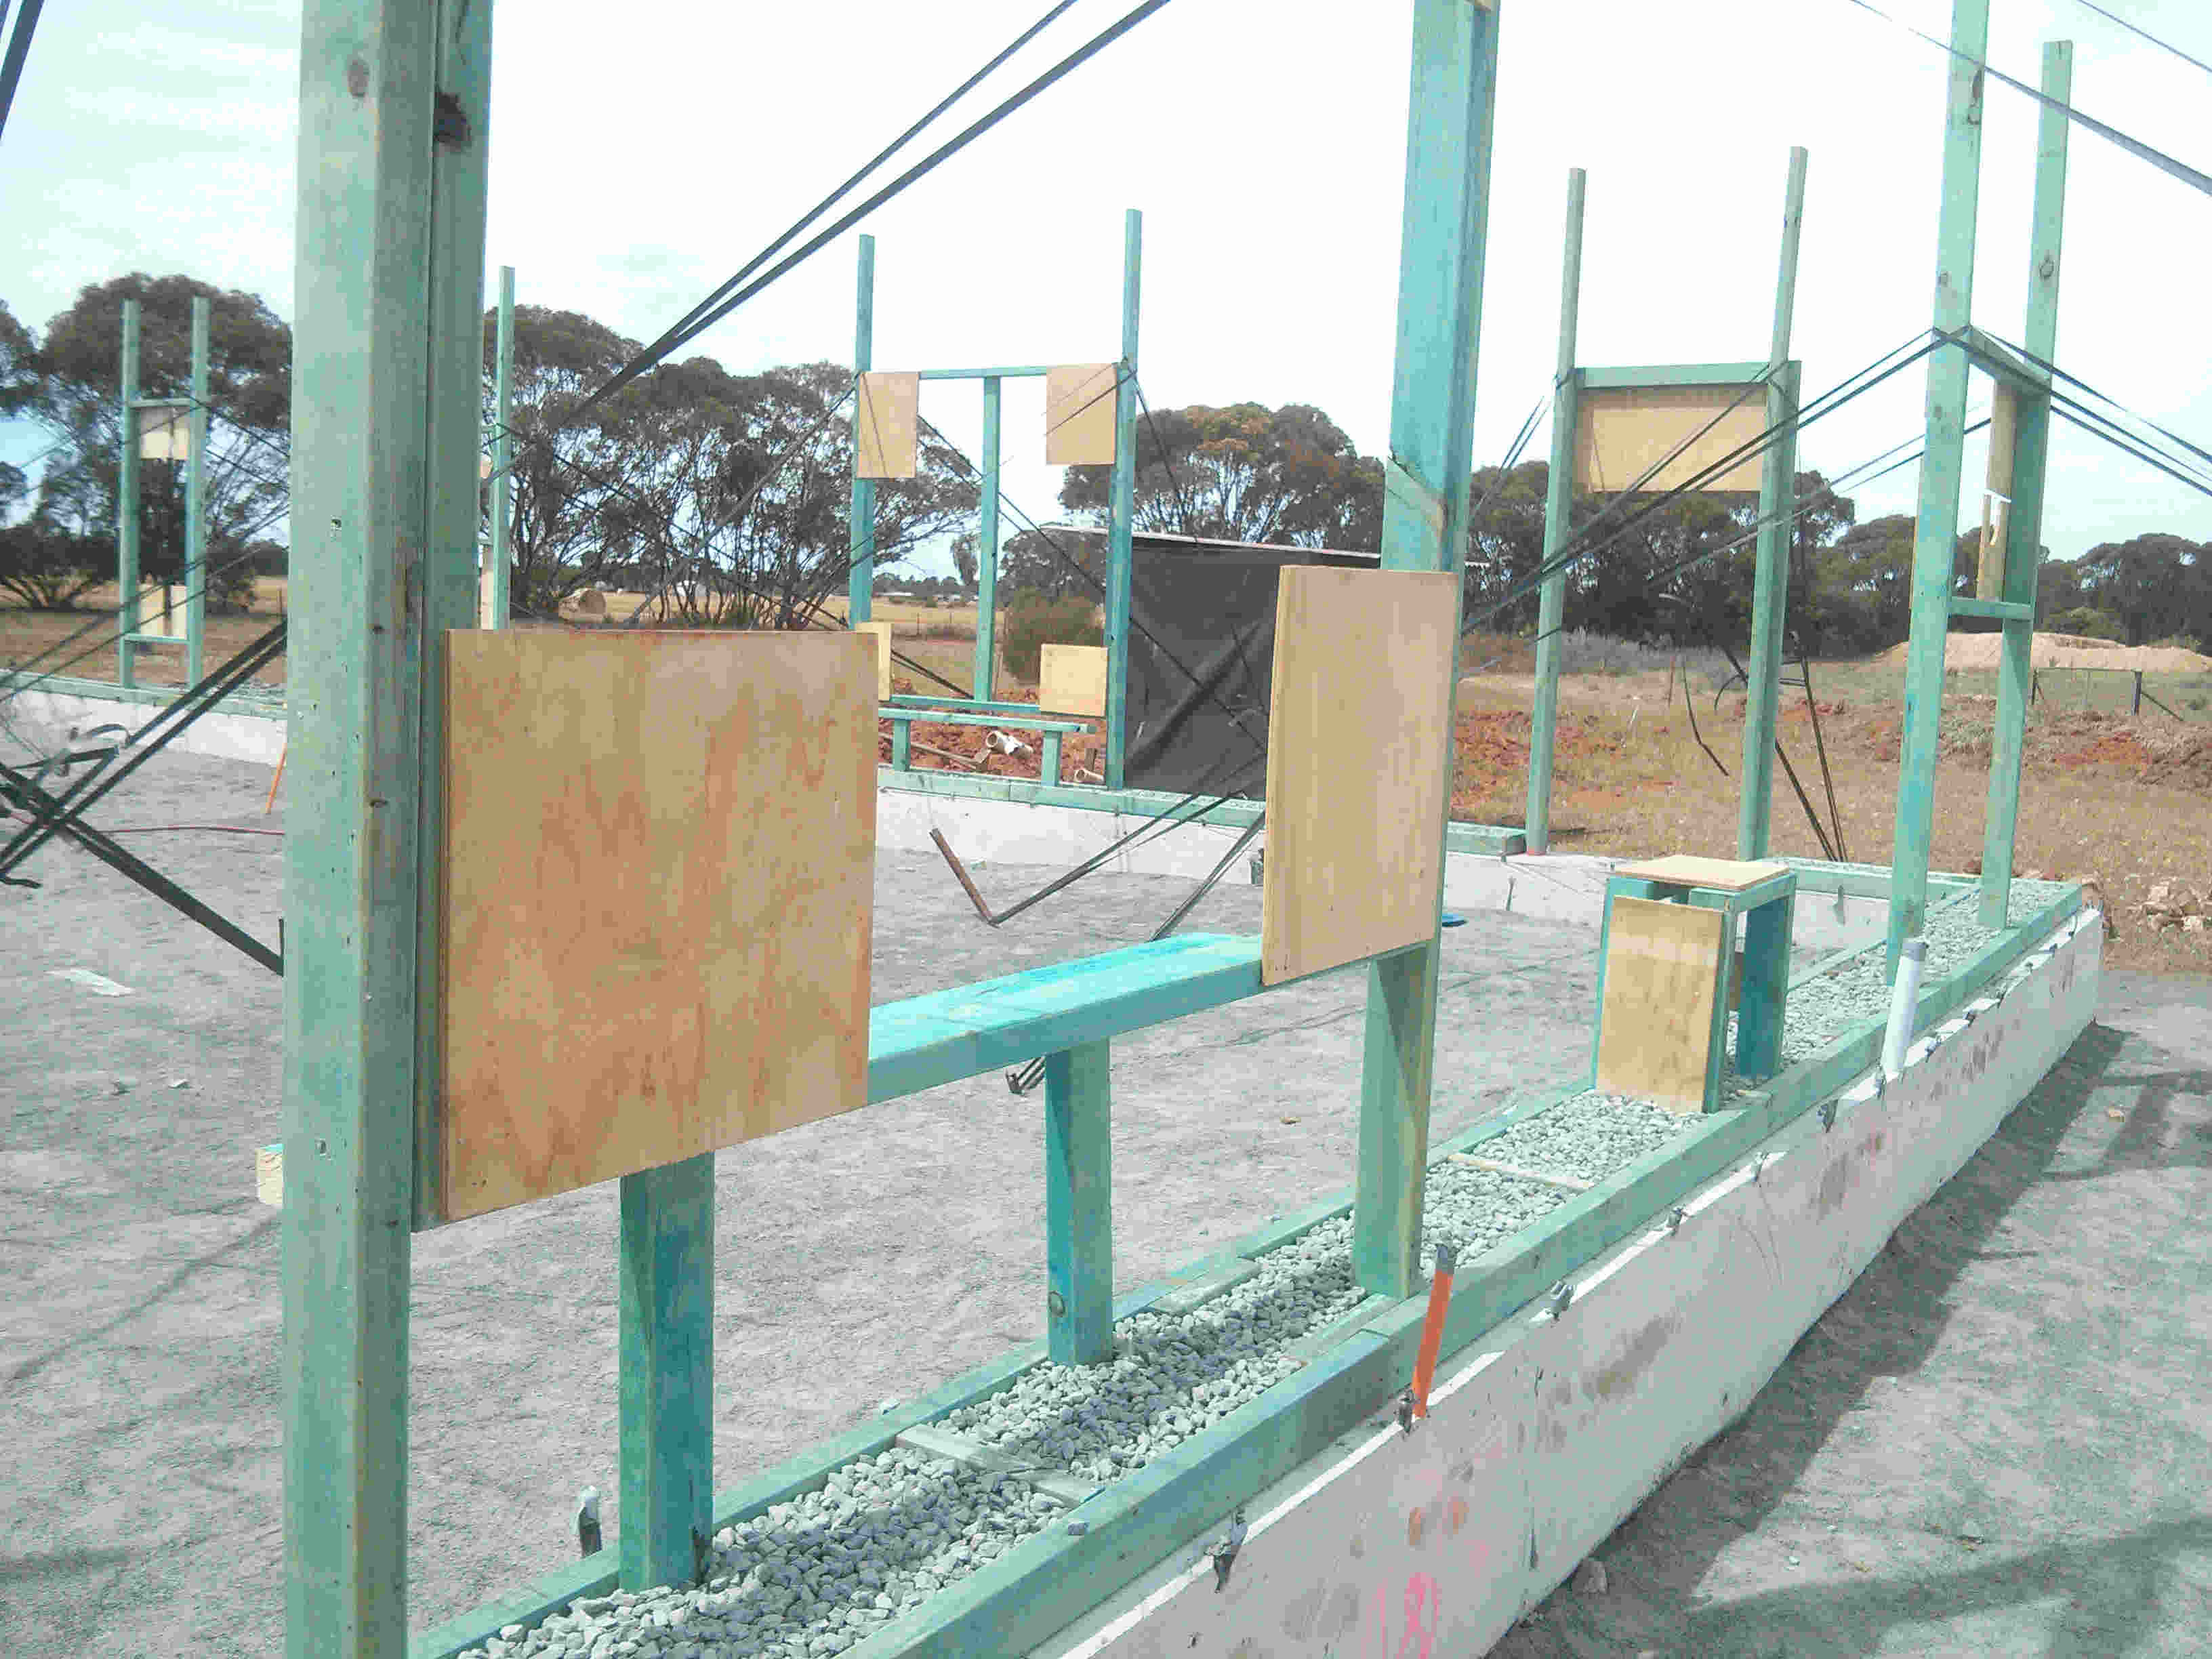
Setting up footings -
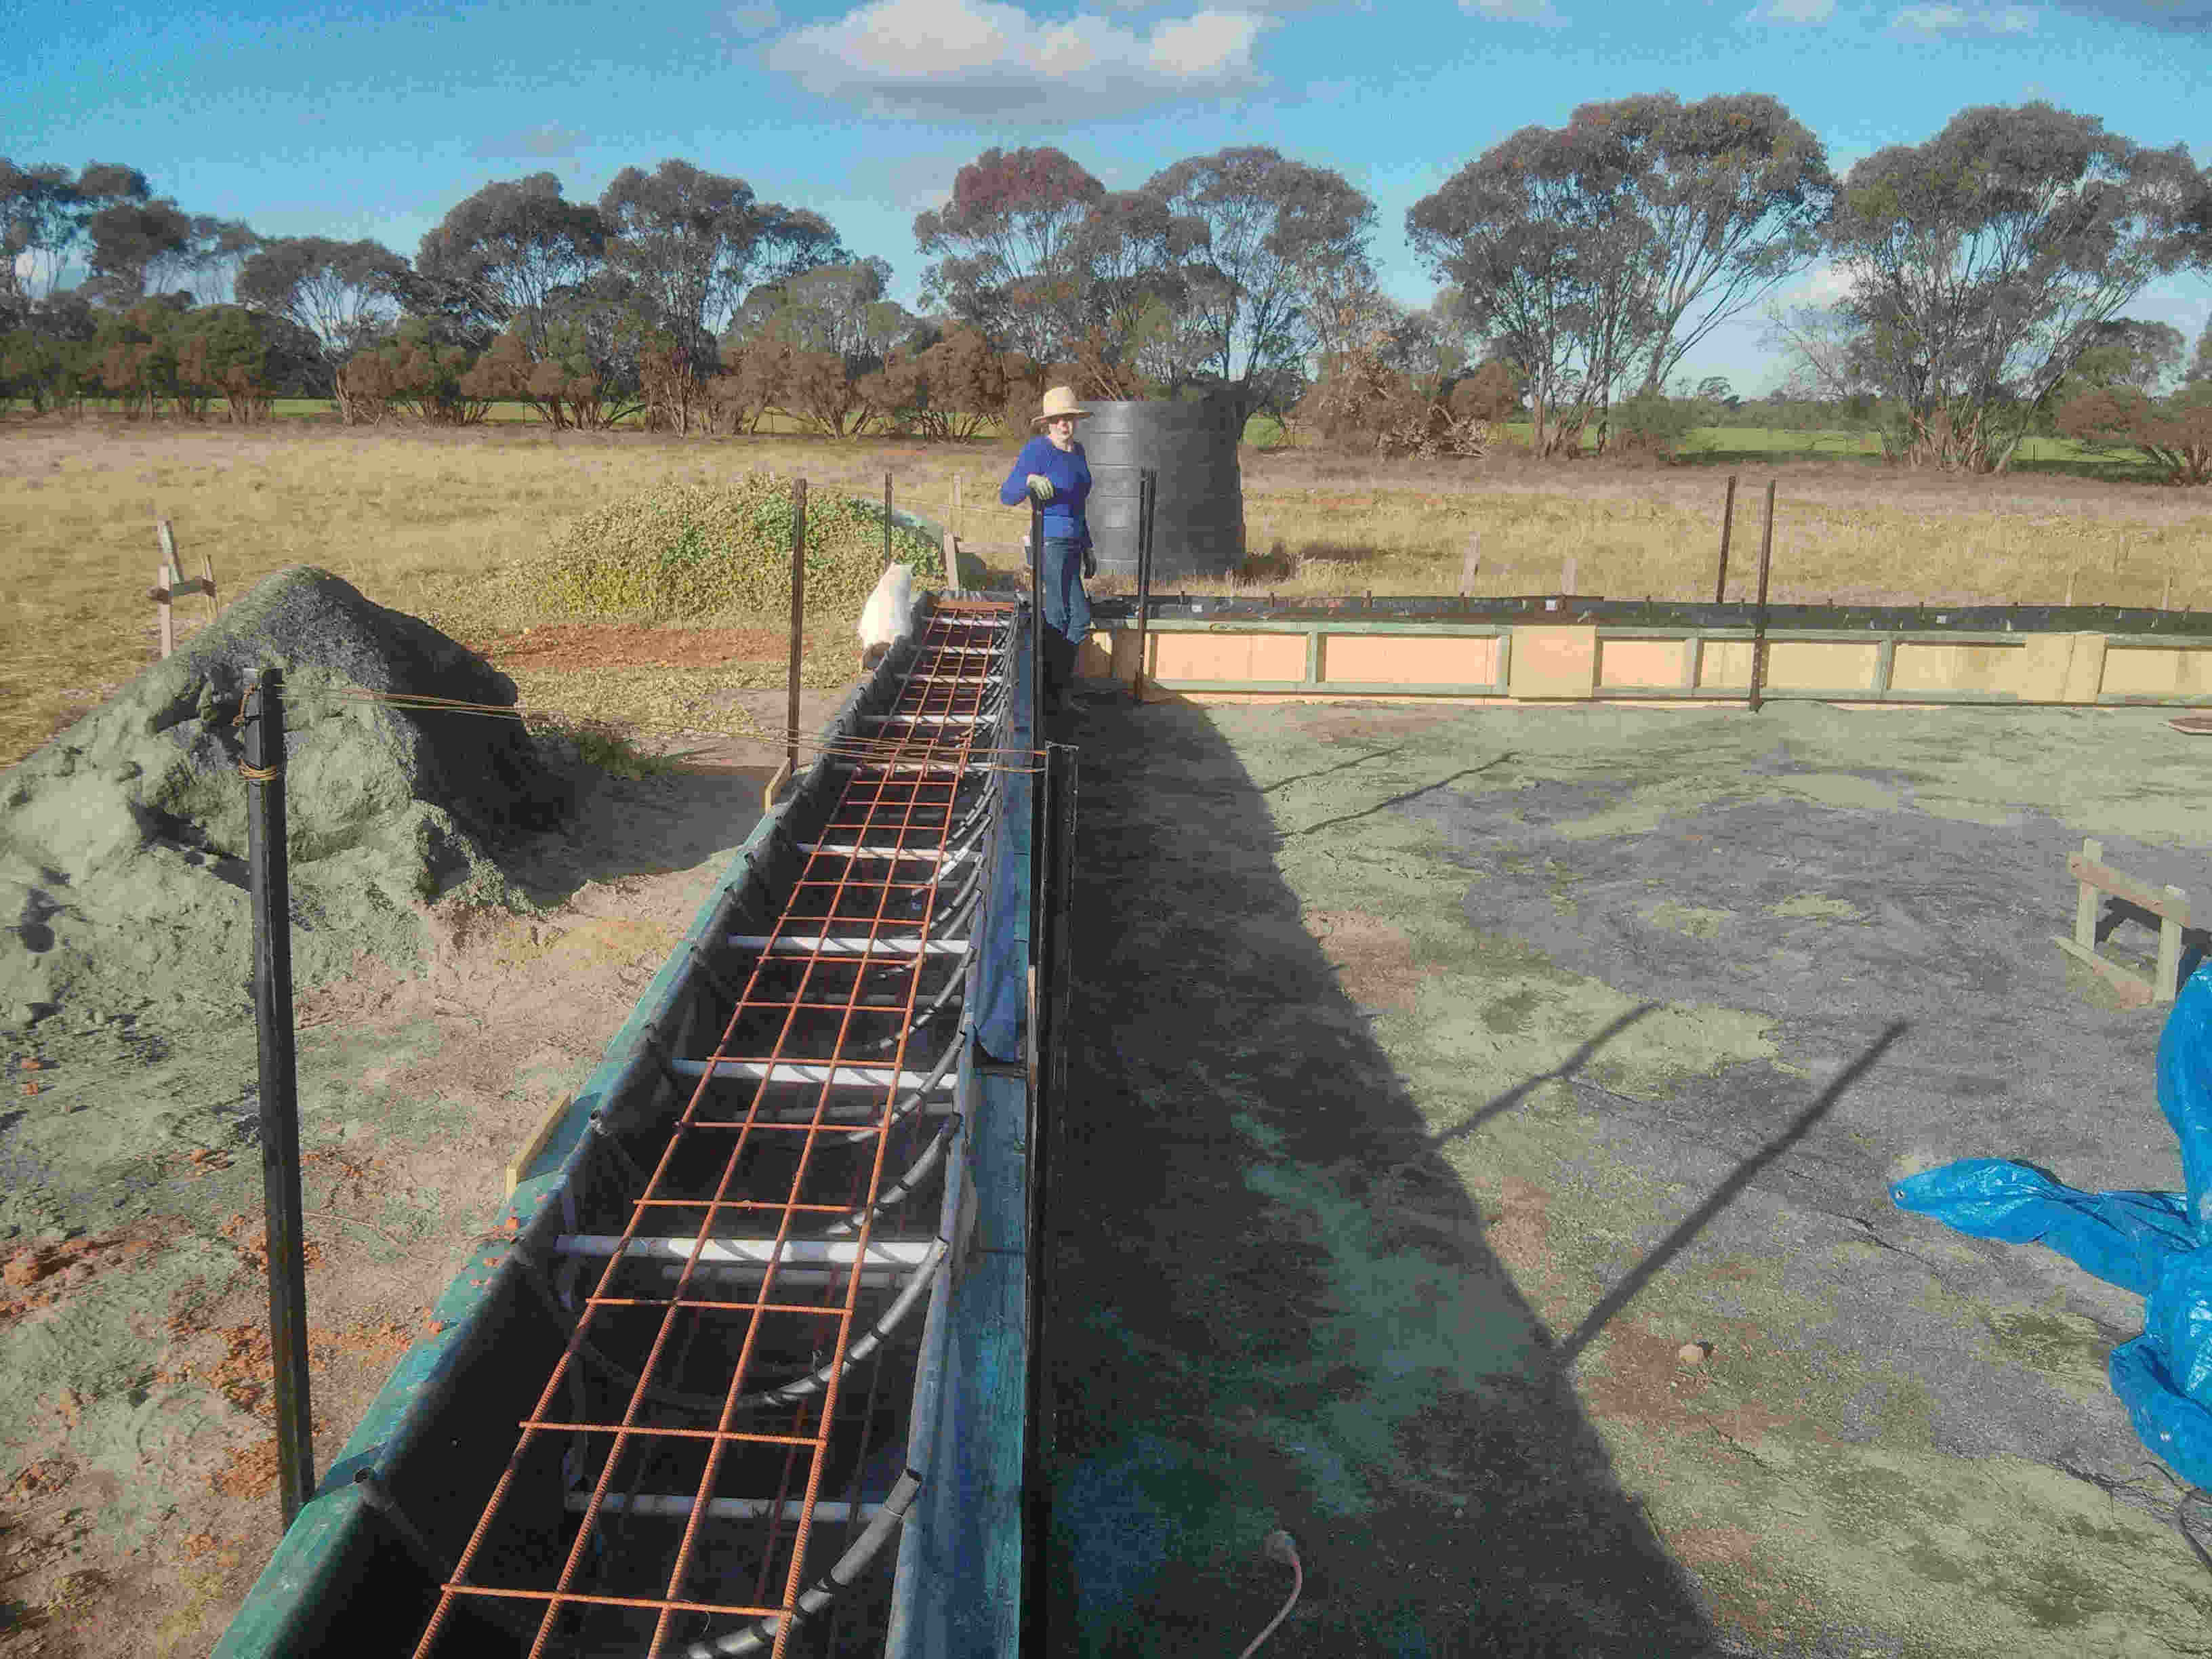
Fiddly work to secure the formwork -
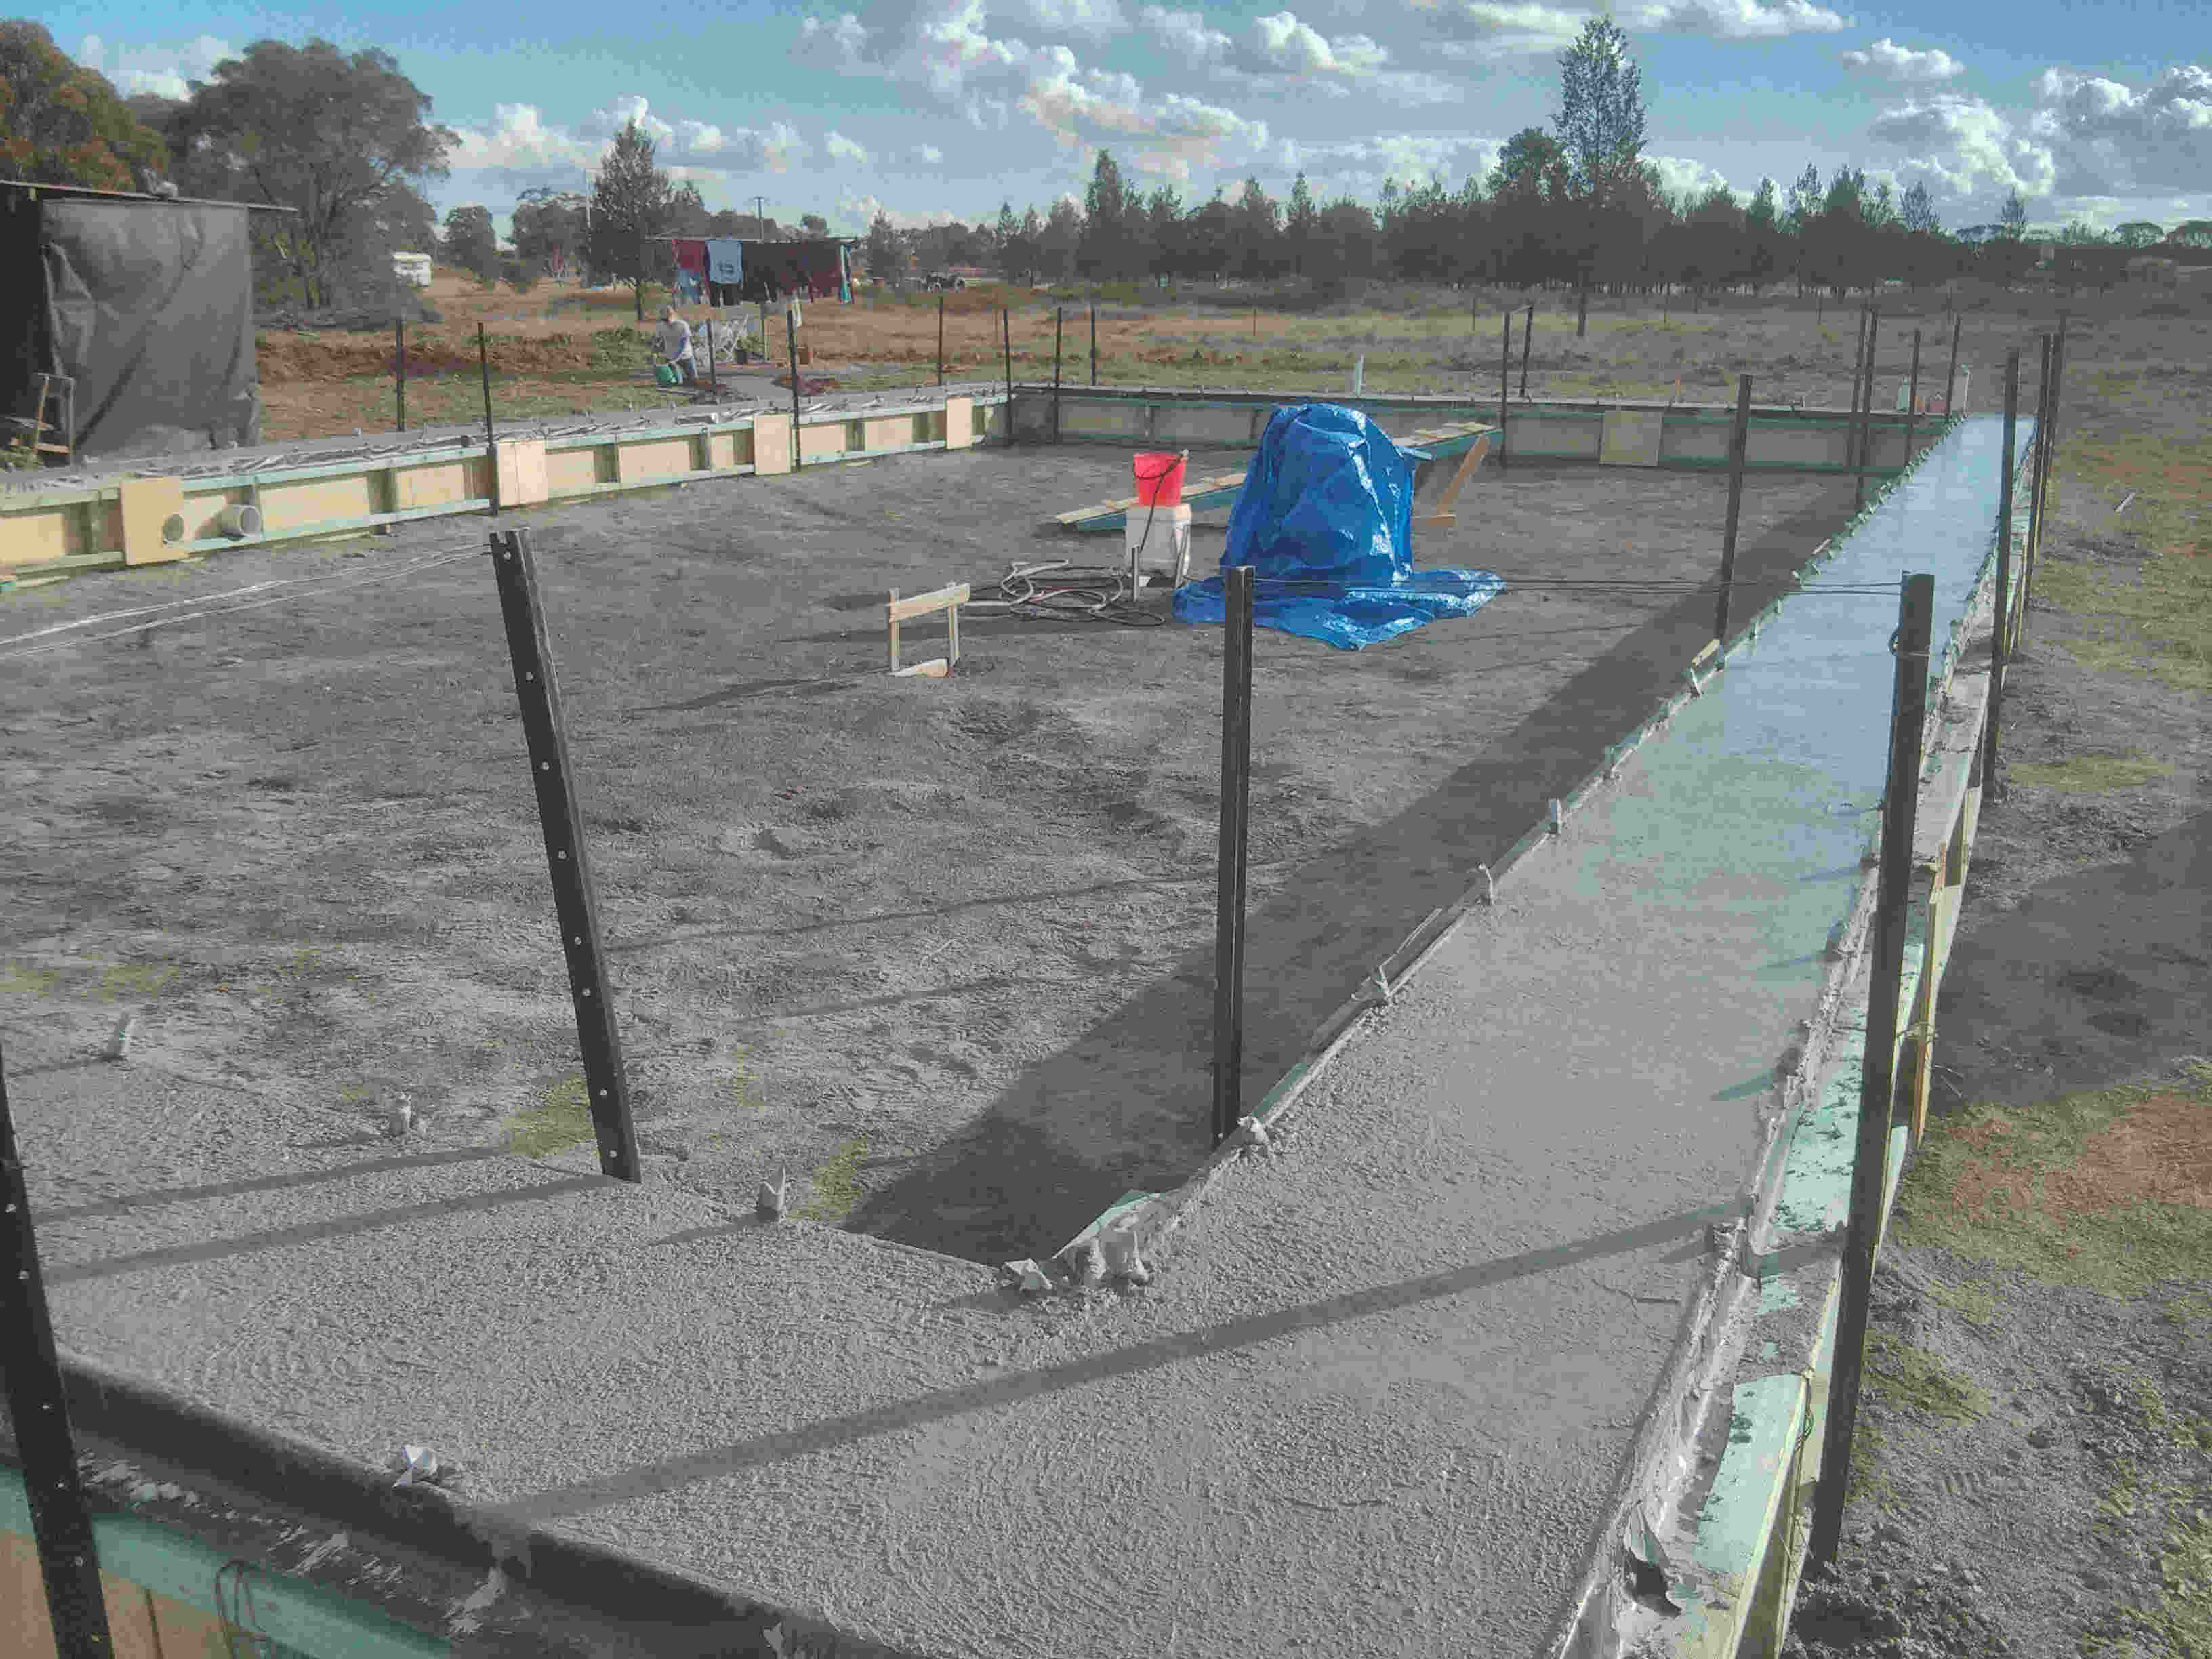
Concrete poured -
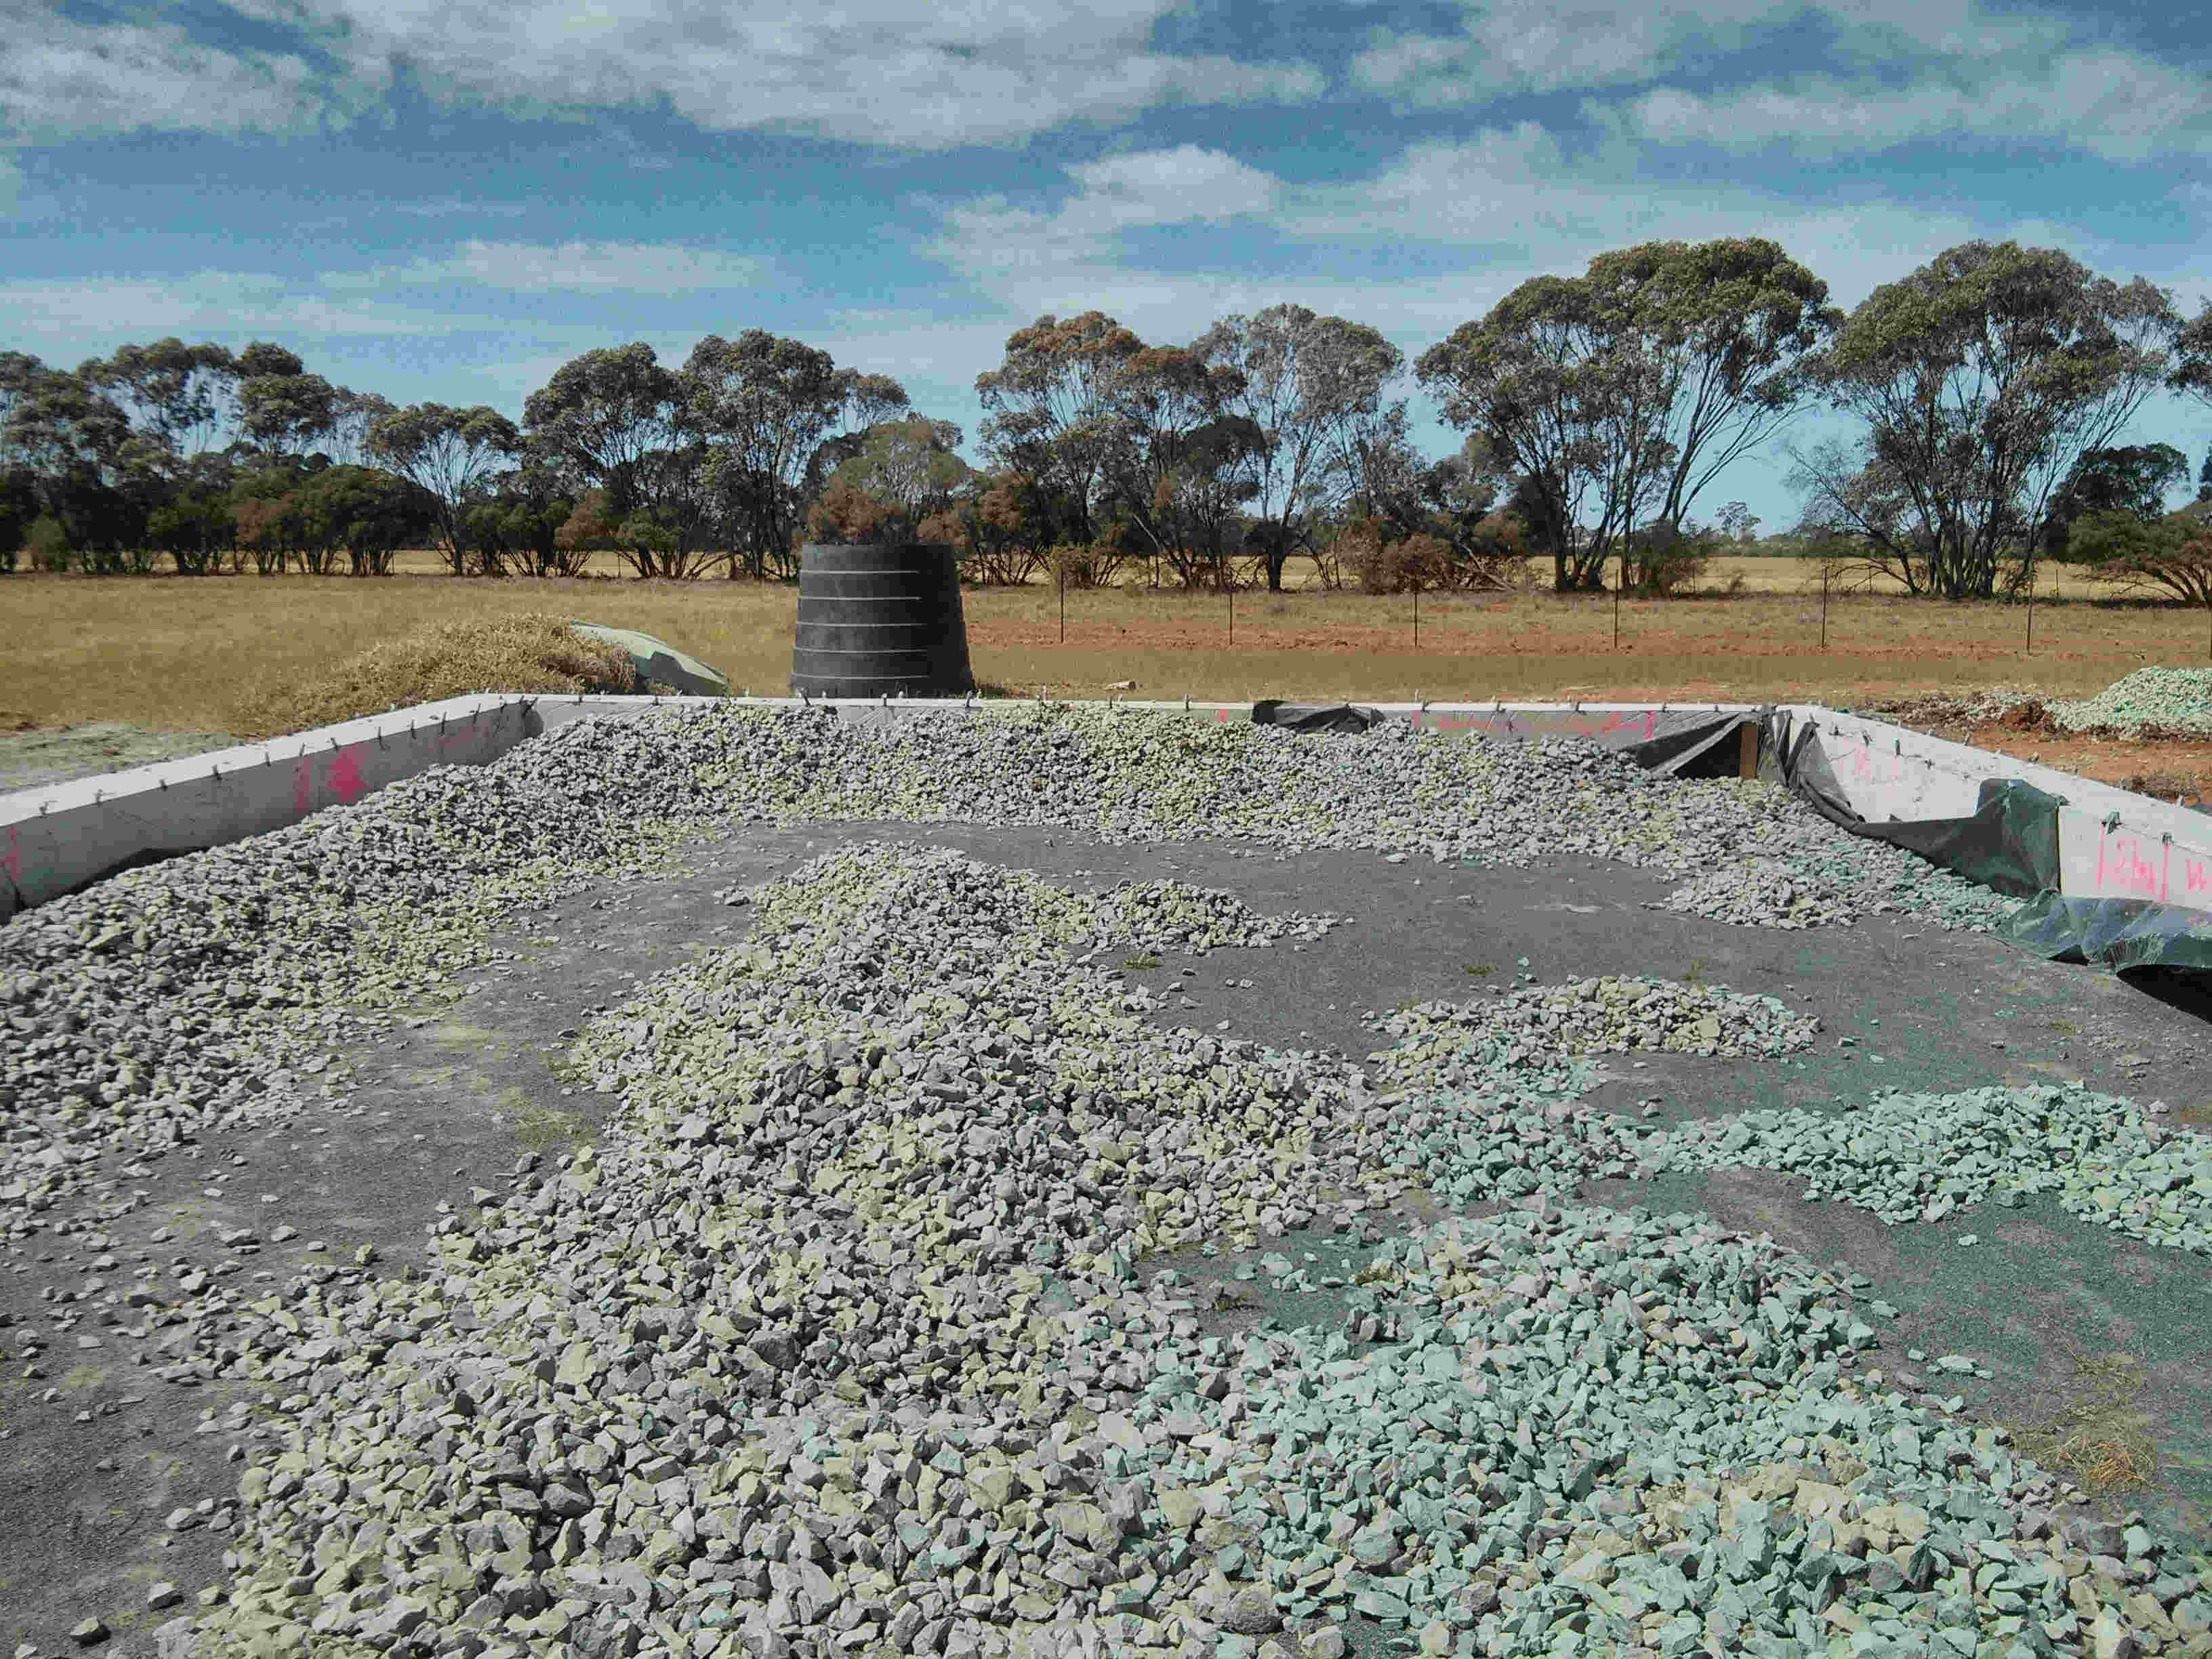
Railway ballast to go under the earthern floor. Hard work moving it around! -
Toe-up details -
All prepared for baling! -
First Render Going on -
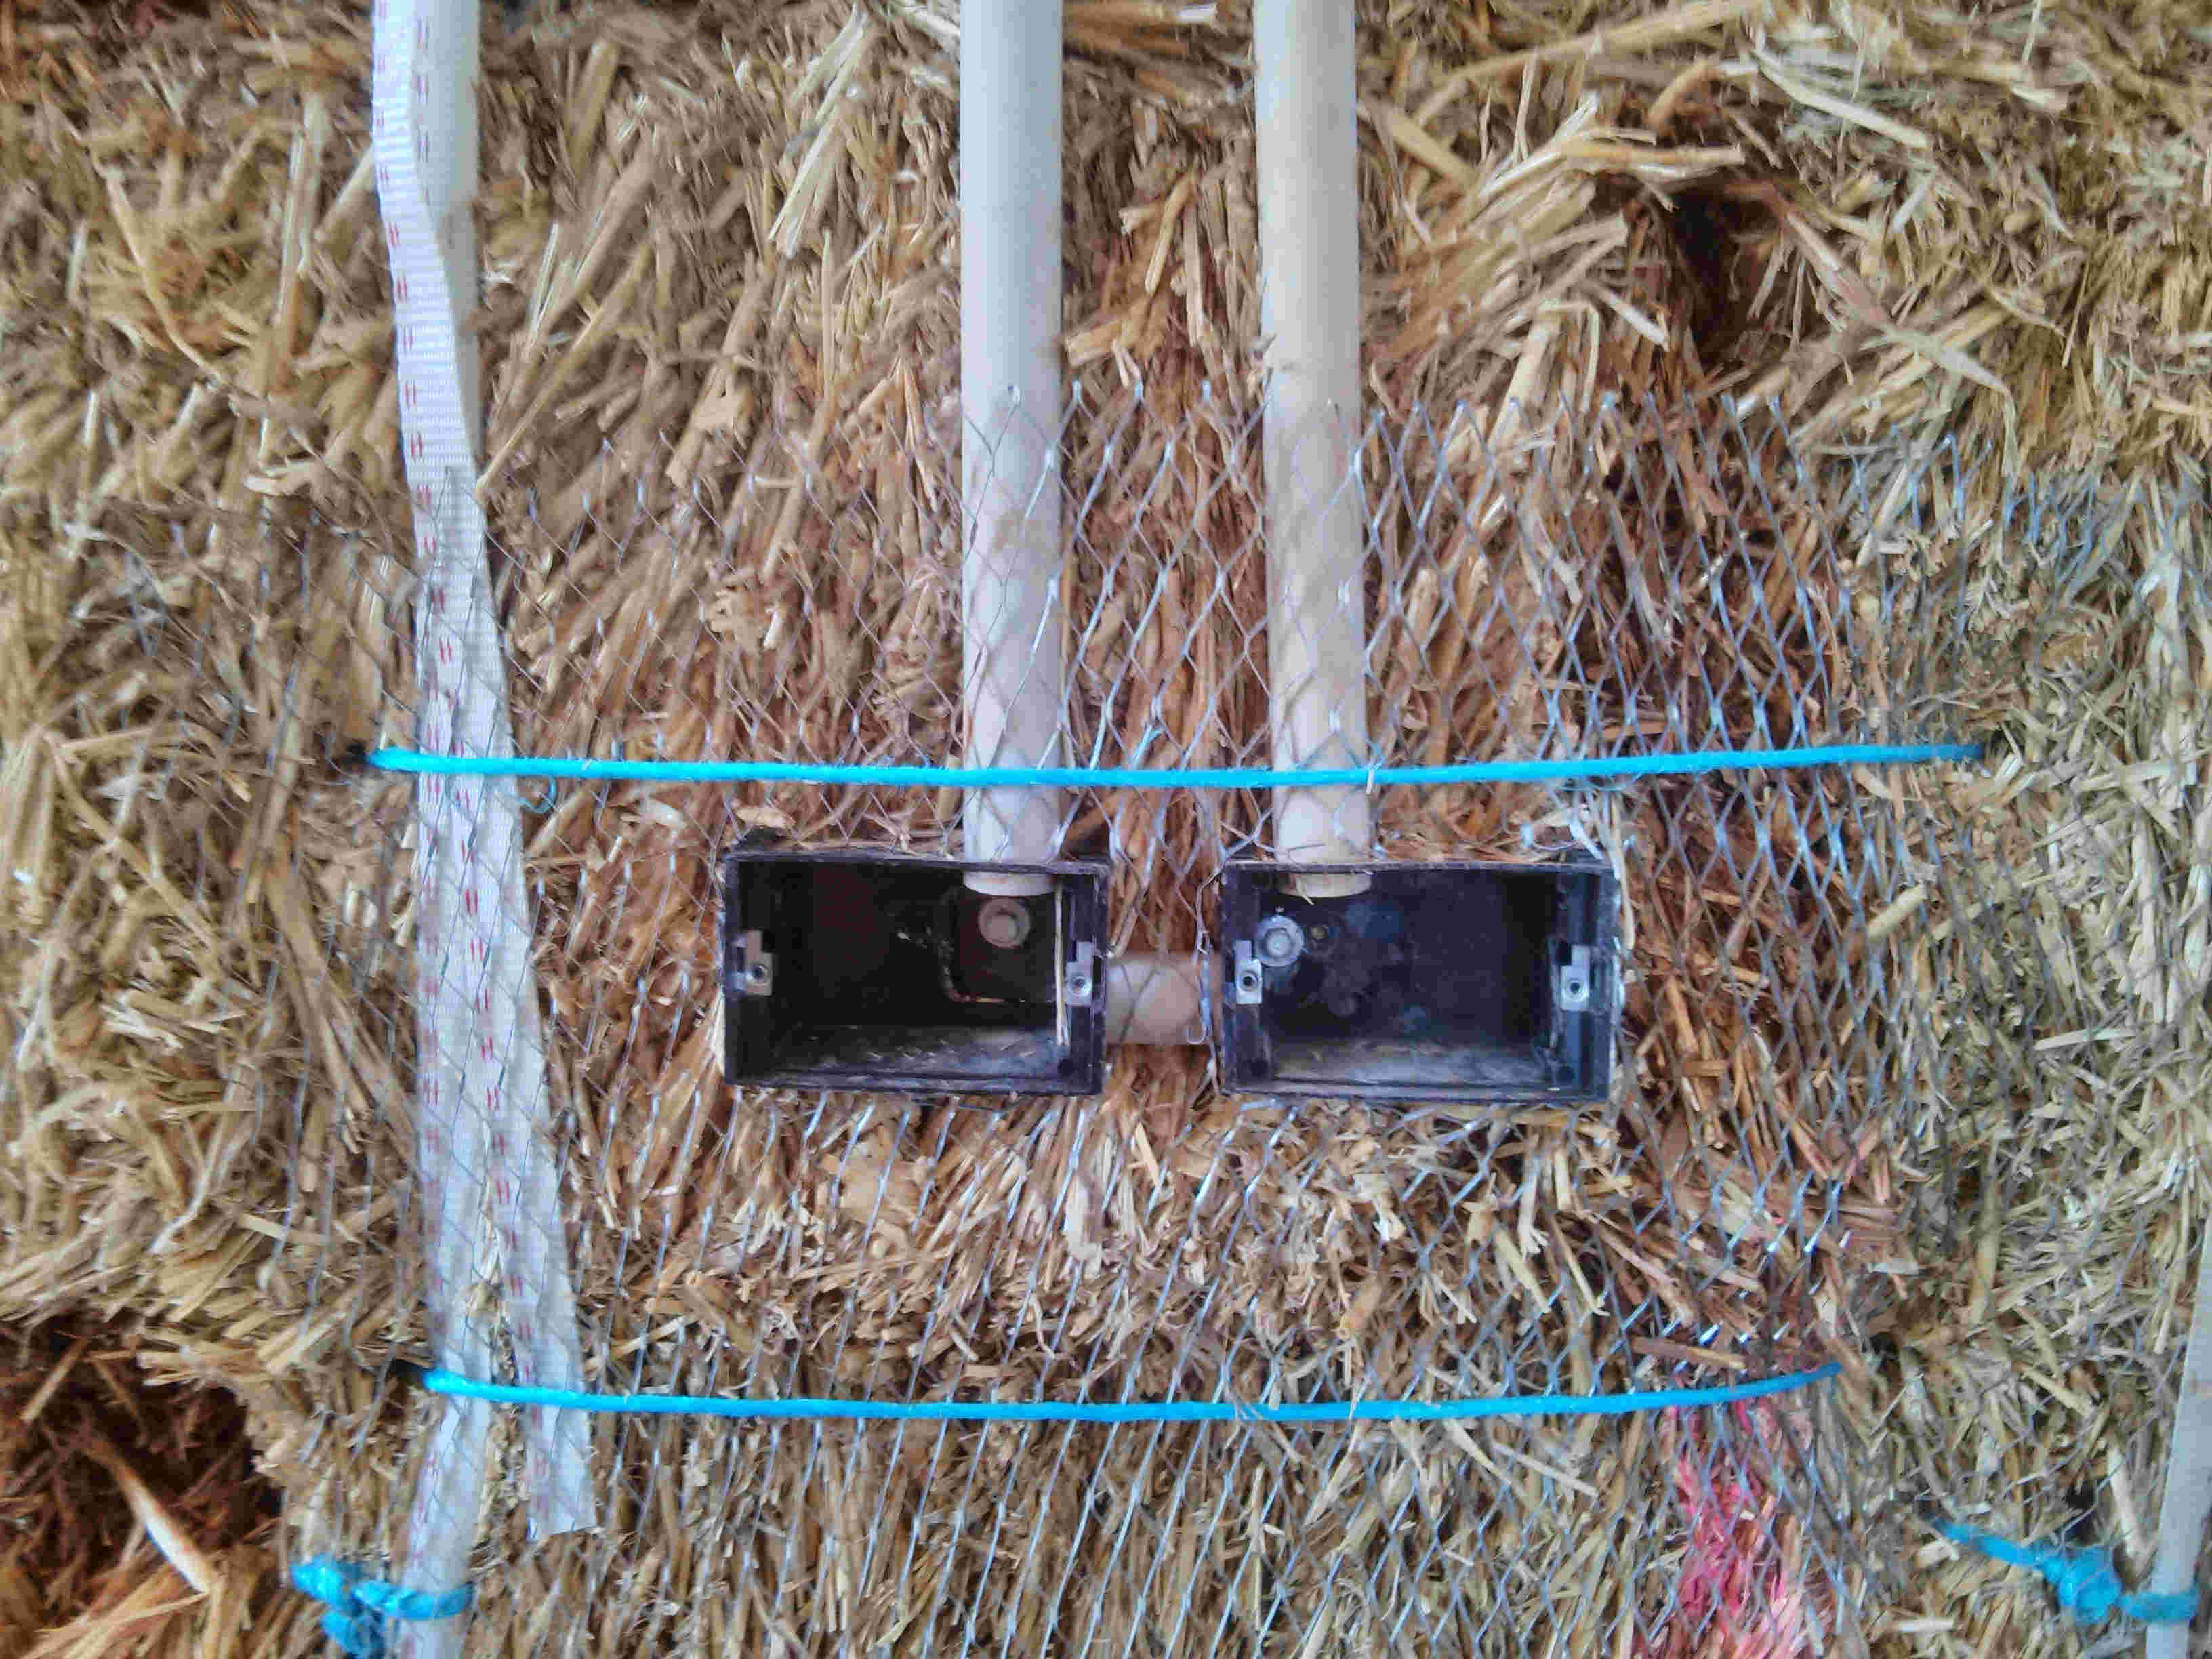
Power point detail -
Compression Strapping -

Very messy clay slip. Many months of this.. -
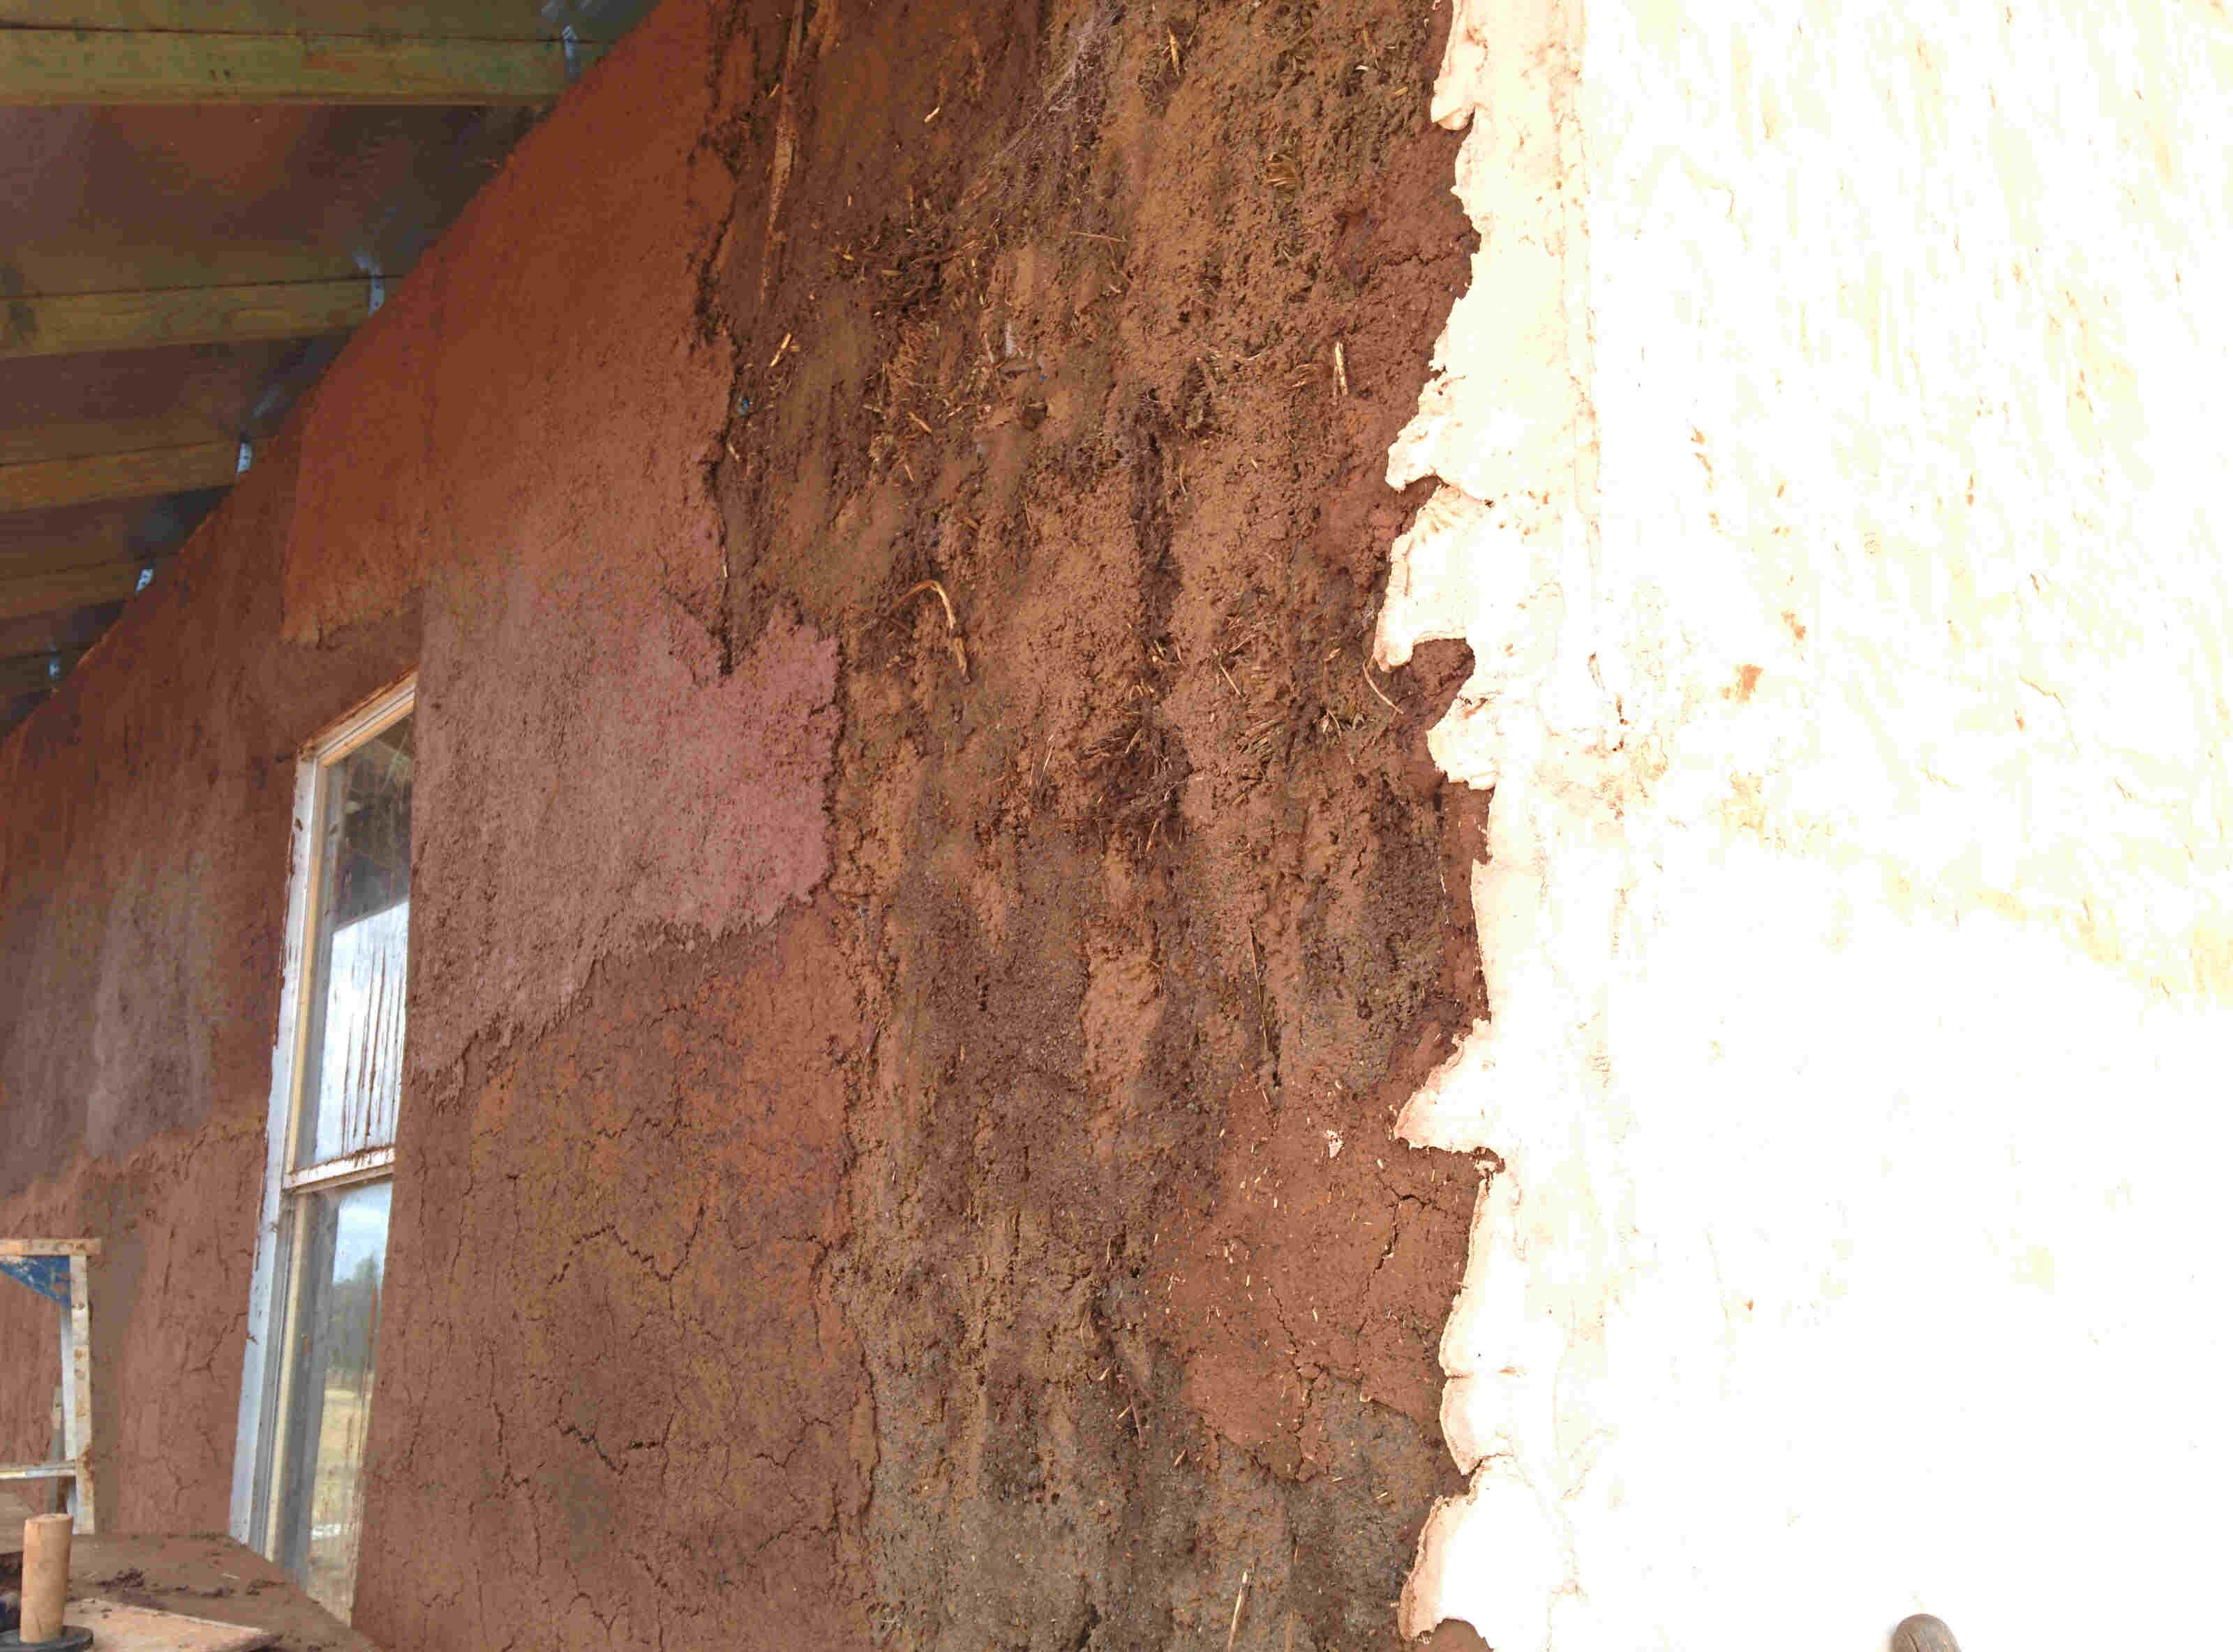
different layers of render coming together -

Very hard work mixing and straining clay slip -
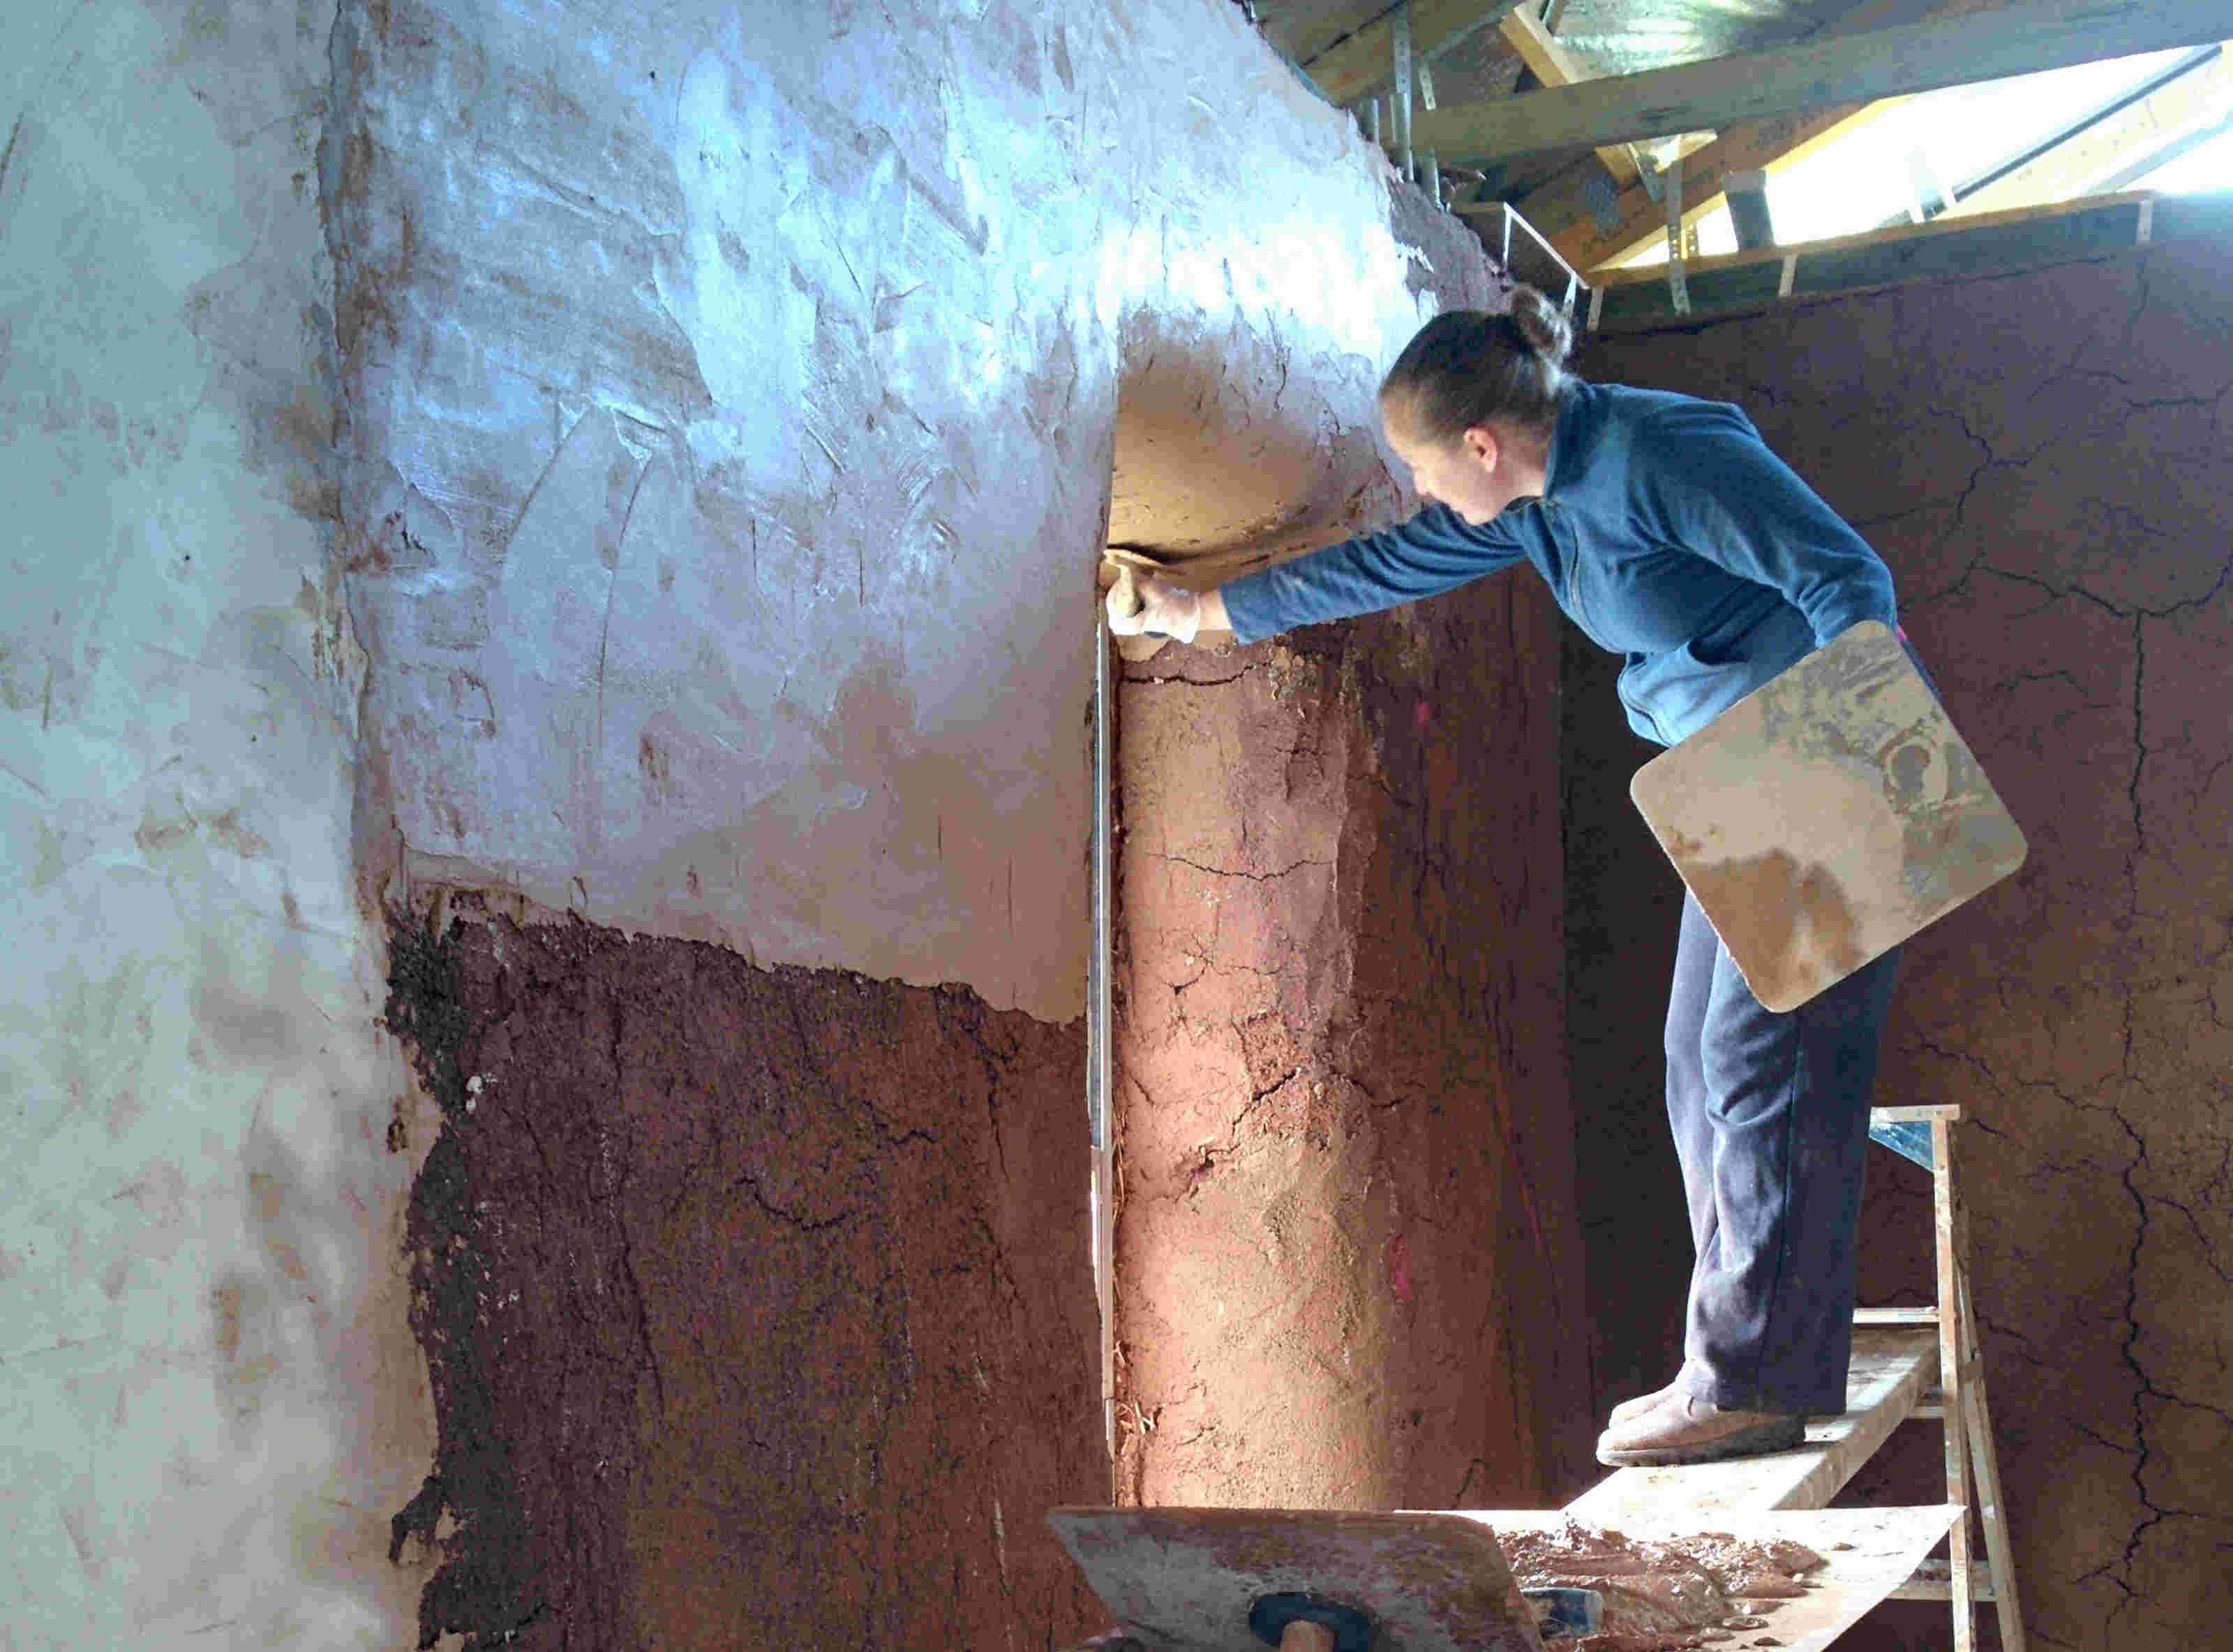
Applying lime render